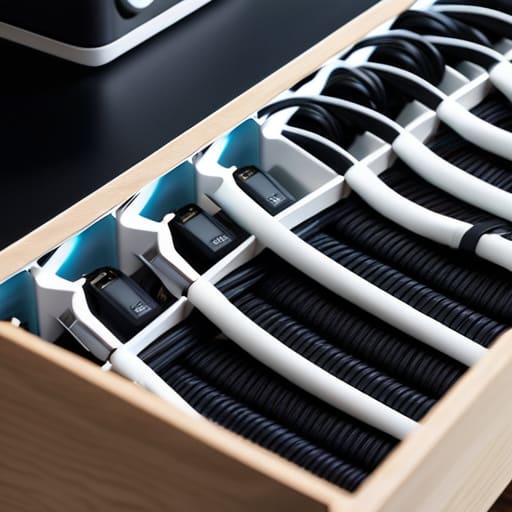
I spent three hours last Tuesday digging through a plastic bin in my workshop, hunting for a single 50-ohm coax, only to end up staring at a bird’s nest of tangled RG-58 and power leads that looked like they’d been through a blender. It’s a special kind of frustration, isn’t it? You realize that you haven’t actually mastered how to store and label cables; you’ve just been procrastinating on the inevitable chaos. Most of the advice you’ll find online tells you to buy some expensive, proprietary organizer system that costs more than a decent handheld transceiver, but let me tell you, a fancy box won’t fix a fundamental lack of discipline.
I’m not here to sell you a lifestyle brand or a miracle product. I’m going to show you how I manage my gear so that I can actually get out to a hilltop and deploy an antenna without a mental breakdown. I’ll give you the real-world methods I use for everything from my shortwave rig to my portable SOTA kits, focusing on stuff that actually stays put when you toss it in a pack. We’re going to talk about durability, visibility, and why your current method is likely failing you when the sun goes down and the signal starts dropping.
Table of Contents
Cable Identification Systems That Actually Survive a Search
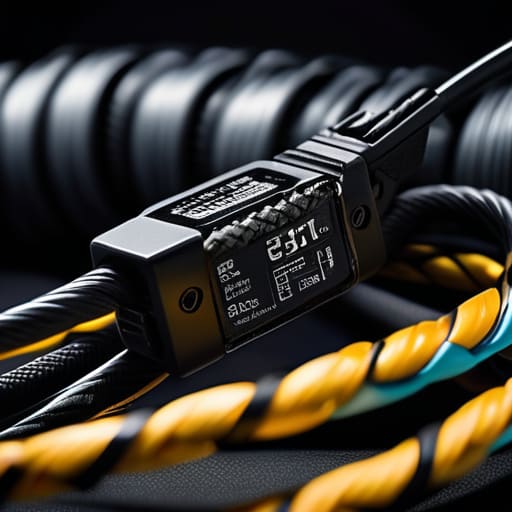
Look, you can buy those fancy, color-coded plastic clips and expensive velcro rolls if you want, but if you’re serious about organizing electronic wires in a way that survives a real-world deployment, you need something more rugged. I’ve spent too many nights in the dark, squinting at a pile of black coax, trying to figure out which one leads to the tuner and which one is just a dead weight. My rule is simple: if you can’t identify it by touch or a quick glance under a dim headlamp, your system has failed.
I’ve found that the most reliable cable identification systems involve a combination of heat-shrink tubing and heavy-duty, write-on flag labels. Don’t bother with those cheap paper stickers; they’ll peel off the moment the room gets warm or the humidity spikes. Instead, use a fine-tip permanent marker on a piece of flagging tape, or better yet, use a label maker with industrial-grade adhesive. Wrap the label around the cord about six inches from the connector. It gives you enough slack to move things around without losing sight of what’s what, and it keeps the actual connection points clear of clutter.
Best Ways to Wrap Power Cables Without Damaging Cores
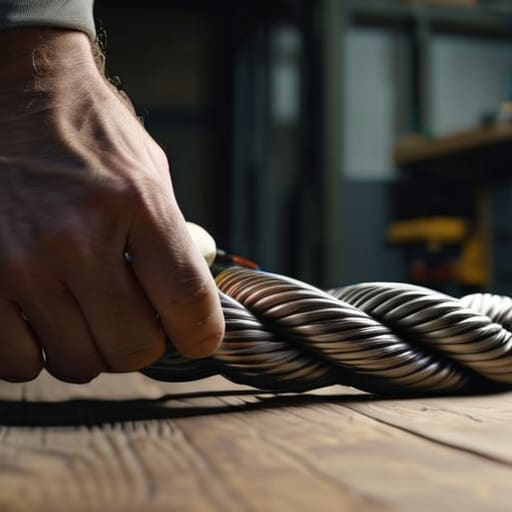
Look, I’ve seen enough “professionals” kill their power supplies because they treated a heavy-gauge cord like a piece of twine. If you’re just looping a thick DC cable around your hand and shoving it into a bin, you’re asking for internal copper fatigue. The secret to preventing tangled cords while keeping the integrity of the wire is the “over-under” technique. It sounds like something a drum tech would tell you, but it works. By alternating the direction of the loops, you neutralize the natural tendency of the cable to kink or twist. I do this with every single power lead in my portable kit; it means when I’m setting up on a ridge at 3:00 AM, the cable lays flat instead of fighting me.
When it comes to best ways to wrap power cables for long-term storage, skip the plastic zip ties. They’re a death sentence for insulation if you cinch them too tight. Use Velcro wraps instead. They provide enough tension to keep the coil tidy without creating those permanent pressure points that eventually lead to a short. If you’re looking at cable management solutions for a home office or a permanent shack, prioritize gentle tension over tightness. You want the cable to hold its shape, not be strangled into submission.
Five Rules for Cables That Won't Drive You Mad
- Stop using masking tape; it’s a lie. It looks fine for twenty minutes, then it dries out, turns brittle, and leaves a sticky, gray residue on your coax that’s a nightmare to clean off. Use heat-shrink tubing or dedicated self-laminating cable wraps. If you’re on a portable setup, use colored electrical tape—but only if you wrap it tight enough that it won’t slide down the cable when you’re trying to pack up in the rain.
- Label both ends of the run. I’ve seen too many beginners label the plug and think they’re geniuses, only to realize they have no idea which end of a twenty-foot jumper is connected to the transceiver and which is connected to the tuner. If you can’t see the label because it’s tucked behind a chassis, you’ve failed.
- Use the “Over-Under” technique or you’re killing your copper. If you just coil a cable in a circle like a garden hose, you’re putting a constant twist in the conductor. Over time, that stress causes the insulation to fatigue and the signal to degrade. Learn the over-under wrap; it makes the cable lay flat and prevents the internal structure from fighting itself every time you unroll it.
- Group by function, not by length. Don’t just put all your “short cables” in one bin. I want my power leads in one spot, my RF jumpers in another, and my audio/data cables in a third. When you’re mid-session and the sun is dropping and the band is opening, you don’t want to be digging through a pile of USB cables looking for a specific DC power lead.
- Leave enough slack for the “Real World.” I’ve measured plenty of setups where the cable was perfectly labeled and neatly coiled, but it was exactly three inches too short to reach the antenna tuner once the operator actually sat in their chair. Always account for the bend radius and the physical movement of your gear. A cable under tension is a cable waiting to fail.
The Bottom Line: Don't Set Yourself Up for Failure
If you can’t identify a cable in under five seconds in a dark room or a rainstorm, your labeling system has failed; use something more permanent than a Sharpie on electrical tape.
Stop the “over-under” debate if you’re just tossing things in a bag, but if you’re storing coax for the long haul, wrap it properly or prepare to deal with signal loss and kinking that no amount of tuning will fix.
Treat your cable management like your antenna height—it’s not an afterthought, it’s a fundamental part of the system that dictates whether your station actually performs when you need it to.
The Real Cost of a Messy Shack
“I’ve spent more time hunting for a single piece of coax in a dark tent during a pileup than I have actually transmitting. If you don’t label your cables with something that survives a bit of sweat and a heavy rain, you aren’t building a station—you’re just building a very expensive way to get frustrated.”
Wren Castellano
Stop Fighting Your Own Shack
At the end of the day, good cable management isn’t about making your station look like a showroom floor for a tech magazine; it’s about reducing the friction between your brain and the signal. If you use a decent labeling system—something that won’t peel off when the room gets warm—and you actually take the time to wrap your power leads using the proper over-under method, you’ve already won half the battle. You’ll save yourself from that frantic, mid-contest scramble where you’re trying to find the right coax while a weak signal is fading into the noise floor. Remember, a disorganized pile of cables is just a future headache waiting to happen, and consistency is more important than any expensive storage bin you can buy.
I know it feels like a chore, especially when you’d much rather be tuning your antenna or chasing a rare DX station, but treat your gear with the respect it deserves. There is a specific kind of peace that comes from sitting down in a clean, logical station where every connection is intentional and every wire has a home. When you master the small, physical details of your setup, you stop fighting your equipment and start focusing on what actually matters: the airwaves. Build your station to last, and make sure that when the ionosphere finally opens up, you’re ready to jump on it without tripping over your own feet.
Frequently Asked Questions
If I'm using heat shrink for labels, does the heat from the power cables during a high-duty cycle run eventually cause the ink to fade or the shrink to loosen?
I’ve seen it happen, usually on a rig that’s been pushed way too hard during a long contesting session. If you’re using cheap, thin-wall heat shrink, the constant thermal cycling from a high-duty cycle run can absolutely cause it to lose its “memory” and creep up the cable. As for the ink? If you’re using a standard office printer, don’t bother—it’ll fade in a week. Use a dedicated industrial thermal transfer printer. It’s a bit more expensive, but it actually stays legible when things get hot.
Is it worth the extra weight in my portable kit to use heavy-duty velcro ties, or should I just stick to the lightweight nylon ones to save space on the hike?
Look, if you’re hiking five miles to a ridge, every ounce counts, but don’t let “lightweight” become “unusable.” I use heavy-duty velcro for my main power leads and coax—they stay gripped even when the wind is whipping your setup. For smaller jumper wires or headphones, stick to the nylon ties or even thin cord. If you use heavy velcro on everything, your kit will feel like a lead weight by the time you reach the summit.
When I'm labeling coax, how far up the cable should I actually place the tag so I can identify it without having to unroll the whole thing from the antenna?
Look, if you’re running coax up a mast or even just through a tight conduit, don’t bother labeling it at the connector alone. I’ve spent too many afternoons crawling through a crawlspace because I couldn’t tell which LMR-400 was which. Label it at the connector, sure, but then put a second tag about six inches from the end of the run where it enters your shack or junction box. If you’re doing a portable setup, tag it right at the connector and again at the midpoint of your deployment. It saves your sanity when you’re trying to trace a line in the dark.
