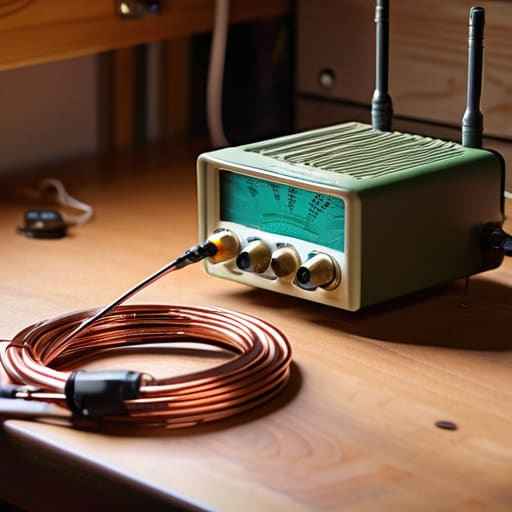
I was standing on a ridge in the Cascades last autumn, shivering in a damp wind, staring at my NanoVNA and wondering why my “perfect” wire was reading a SWR of 4:1 on 40 meters. I had followed every forum post ever written about how to build an end fed antenna, yet I was getting nothing but static and a very frustrated sense of wasted time. The truth that most of those old-timer threads skip is that a transformer isn’t a magic wand; if you don’t account for the ground plane and the specific height of your wire, you aren’t building an antenna, you’re just building a very expensive piece of copper string.
In this guide, I’m going to show you how to actually get this right without the theoretical fluff. We aren’t just going to talk about winding toroids; I’m going to give you the specific ratios that actually work, the exact wire gauges I use for my portable kits, and most importantly, the minimum height you need to clear the brush if you want to actually make a contact. I’ll tell you when a design is worth your time and when you’re better off just buying a pre-made one, so you can stop guessing and start operating.
Table of Contents
- Step-by-Step Instructions
- Efhw Antenna Wire Length Calculation Stop Guessing and Start Measuring
- Impedance Matching for End Fed Antennas Transformer vs Tuner Reality Check
- Five Things My SWR Meter Taught Me (That the Manual Won't)
- The Bottom Line: What Actually Matters When You Hang That Wire
- The Grounding Reality Check
- Final Thoughts Before You Hang the Wire
- Frequently Asked Questions
Guide Overview
Tools & Supplies
- Wire cutters for trimming antenna elements
- Soldering iron for connecting connections
- Measuring tape for wire length
- Insulated copper wire (approx. 50-100 ft depending on band)
- 9:1 Unun (Unbalanced-to-Unbalanced transformer)
- Coaxial cable (RG-58 or RG-8X)
- Insulators (ceramic or plastic)
- Electrical tape or heat shrink tubing
Step-by-Step Instructions
- 1. First, you need to pick your wire. Don’t go out and buy some fancy, expensive braided shielding just because a catalog says it’s “high performance.” For a basic end-fed wire, a standard 14 or 16 AWG stranded copper wire with decent insulation is more than enough. I prefer something with a bit of flexibility so you aren’t fighting the elements when you’re trying to string it up on a tree. Just make sure it’s rated for UV exposure, or you’ll be replacing the whole thing in six months when the sun eats the jacket.
- 2. Next, let’s talk about the unun—the transformer that makes this whole thing actually work. You aren’t just twisting wires together here. You need a 9:1 impedance transformer to take that high impedance from the end-fed wire and bring it down to something your coax can actually handle. I usually build mine using a FT240-43 toroid, but if you’re just starting out, buying a pre-made one is fine. Just don’t expect a $20 unit to have the same bandwidth as something you wound yourself with precision.
- 3. Now, grab your coax. You’ll want to connect the center conductor and the shield of your coax to the output side of your unun. I always use high-quality connectors and make sure my solder joints are clean; a cold solder joint is just a future point of failure waiting to happen when the wind starts blowing. Once that’s done, you have your feed point. Remember, the unun should be at the very end of the wire, sitting as close to the ground as is practical for your setup, though I’ll remind you again that height is everything.
- 4. It’s time to calculate your length. You can use an online calculator to get a starting point, but don’t treat those numbers like gospel. For a 40-meter band antenna, you’re looking at roughly 65 to 70 feet of wire, but you should always cut it long. I usually add an extra 5 or 10 feet to my initial calculation. It is much easier to trim a wire down to find the sweet spot than it is to try and solder more copper onto a wire that’s too short.
- 5. Once the wire is strung up, you need to deal with the counterpoise. An end-fed antenna isn’t a complete circuit without one. You can use the shield of your coax as a counterpoise, but that often leads to RF in the shack, which is a great way to get a nasty burn from your microphone. Instead, I recommend attaching a secondary length of wire (maybe 15 to 20 feet) to the ground side of your unun and letting it lay on the ground or hang low. This helps stabilize the system and keeps the “noise” where it belongs.
- 6. Now comes the part where most people get frustrated: the tuning. Get your antenna up at its intended height—and I mean actually up, not just draped over a bush—and hook up your NanoVNA or an antenna analyzer. Find where the SWR is lowest, then start trimming that extra wire you left on. Do it in small increments. If you find the resonance is slightly off, don’t panic; sometimes you just need to adjust the physical geometry or move the counterpoise slightly to get that SWR below 2:1.
- 7. Finally, test it under load. A low SWR on an analyzer is great, but it doesn’t tell the whole story. Get on the air and see if you can actually pull in a signal. I’ve seen plenty of antennas that look perfect on a screen but perform poorly in the real world because they were mounted too close to a metal gutter or a power line. If you’re getting a signal, even if it’s just a weak DX station on a good ionospheric cycle, then you’ve done your job.
Efhw Antenna Wire Length Calculation Stop Guessing and Start Measuring
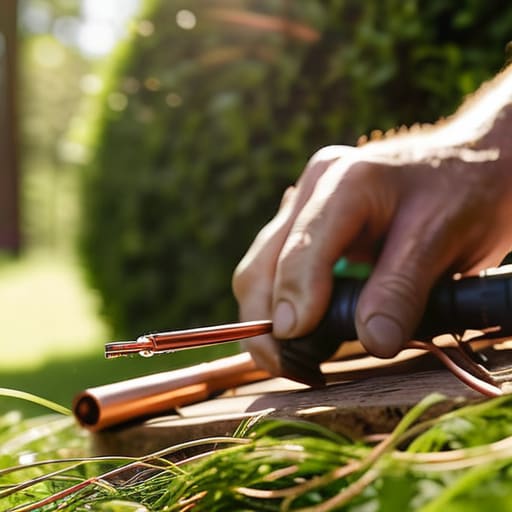
Look, you can find a dozen formulas online that promise a perfect resonance, but most of them are based on idealized math that doesn’t account for the reality of your backyard. When you’re doing an efhw antenna wire length calculation, the standard “total length divided by frequency” approach is just a starting point. I always tell people to cut their wire about 5% to 10% longer than the math suggests. It is much easier to trim a few inches of copper off a wire with side cutters than it is to realize you’re short and have to find more spool in the middle of a field.
The real magic—and the real headache—happens when you look at the impedance matching for end fed antennas. If your transformer isn’t quite dialed in, or your wire is a hair too long, you’ll see that SWR creeping up. Don’t panic and reach for an antenna tuner immediately; a tuner is a band-aid, not a solution. I’d rather spend twenty minutes with an analyzer, adjusting the physical length of the wire, than spend twenty hours fighting a high SWR with a heavy tuner. Measure twice, cut once, and always leave yourself some slack to play with.
Impedance Matching for End Fed Antennas Transformer vs Tuner Reality Check
Here is the reality of the situation: you can have the most mathematically perfect wire length in the world, but if you don’t address the impedance mismatch at the feed point, you’re just fighting a losing battle. Most people think they can just throw an antenna tuner at the problem and call it a day, but there is a massive difference between an antenna tuner vs transformer approach. A tuner is a band-aid; it’s a reactive device that can struggle if your SWR is truly astronomical or if the impedance is swinging wildly across the band. If you want a stable, reliable station, you need a dedicated 49:1 or 64:1 impedance matching transformer (a Unun) right at the wire.
I’ve spent enough nights on ridge-tops to know that relying solely on a tuner often leads to high loss and, more importantly, a lack of confidence in your signal. When I’m doing HF amateur radio antenna DIY projects, I aim to get the transformer to do the heavy lifting so the tuner only has to “clean up” the edges. Also, don’t overlook your coax. If you’re using cheap, thin RG-58 for a long run to a high wire, your losses will eat your signal before it even hits the air. Use something with better shielding and a lower loss tangent if you actually want to make contacts.
Five Things My SWR Meter Taught Me (That the Manual Won't)
- Watch your counterpoise. If you don’t provide a dedicated path for the common-mode current—like a length of coax or a dedicated wire running back to the shack—that current is going to use your microphone shield or your computer’s USB port as its return path. I’ve seen more expensive gear get fried by RF feedback than by lightning.
- Don’t skimp on the transformer wire. If you’re building a 49:1 Unun, use high-quality enameled wire and don’t crowd the windings. If the windings are too close together, you’ll get capacitive coupling that makes your resonant frequency drift every time a cloud passes by.
- Height is your best friend, but ground is your enemy. I’ve tested this EFHW at 15 feet and it was practically a glorified piece of string; get it up to at least 30 or 40 feet above the actual ground level if you want to see any decent radiation pattern on the lower bands.
- Use high-quality insulation for your wire. I used to use cheap garden wire for my portable setups, but after a season of UV exposure and wind, the dielectric properties changed so much my SWR was jumping all over the place. Use something rated for outdoors, or you’ll be recalculating your lengths every three months.
- The “tuning” isn’t finished until you test it in the rain. A dry day is a lie; I always do my final length adjustments after a light drizzle or at least check how the impedance shifts when the humidity spikes. If your antenna only works in a desert, it’s not a practical antenna.
The Bottom Line: What Actually Matters When You Hang That Wire
Stop obsessing over the math and start obsessing over the height; an end-fed wire sitting two feet off the ground is just a very expensive piece of string, so get it up at least 20-30 feet if you actually want to see those SWR numbers drop on the lower bands.
Don’t expect a single wire to do everything perfectly; even with a decent 49:1 transformer, you’re going to have some frequency gaps, so embrace the tuner for the stubborn spots and realize that sometimes the ionosphere is doing more work than your antenna is.
Real-world performance is measured in signal, not just spreadsheets; if your calculated length isn’t working, trim it in small increments and test it in the actual environment where it will live, because a measurement in my workshop doesn’t mean a thing once you’re standing in a damp field.
The Grounding Reality Check
Everyone talks about the wire length and the 49:1 transformer like they’re the whole story, but if you’re just draping that wire across a low-hanging branch six feet off the deck, you aren’t building an antenna—you’re building a very expensive heater. An end-fed only finds its legs when you give it enough vertical clearance to actually breathe; if you don’t get it up at least 20 or 30 feet, don’t come crying to me when your SWR is a mess and your signal is buried in the noise floor.
Wren Castellano
Final Thoughts Before You Hang the Wire
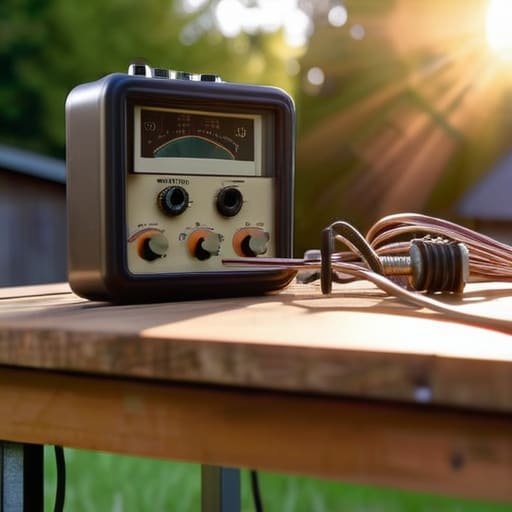
At the end of the day, building an end-fed wire isn’t about following a perfect mathematical formula; it’s about managing the reality of your specific environment. You’ve got your wire length calculated, you’ve picked your transformer ratio, and you’ve hopefully accounted for that impedance shift when you finally get it off the ground. Just remember: if you hang this wire only ten feet above a metal shed, your SWR readings will tell a much different story than any calculator ever could. Don’t skip the measurement phase. Whether you’re using a 49:1 unun or relying on an external tuner to clean up the edges, the goal is a system that actually works when the bands open, not just one that looks good on a schematic.
There is a specific kind of satisfaction that comes from hearing a distant station through a piece of wire you cut, soldered, and hoisted yourself. It’s a far cry from just plugging in a pre-made wire antenna and hoping for the best. Radio is one of the few places left where you can truly own the physics of your setup. So, get out there, get that wire up high—and I mean actually high—and start listening. The ionosphere might be temperamental, and the wind might toss your antenna around, but when you pull in that first DX signal, you’ll know exactly why you built it this way.
Frequently Asked Questions
I've got my wire cut to the right length, but can I still use this if I can't get it more than ten feet off the ground?
You can, but don’t expect miracles. At ten feet, you’re basically building a giant, inefficient radiator that’s going to soak up everything the ground throws at it. Your SWR might look okay thanks to the transformer, but your radiation pattern will be a mess, mostly dumping energy straight down into the dirt. If you’re stuck that low, at least try to get it away from metal objects; otherwise, you’re just fighting physics.
If I'm using a 49:1 transformer, do I really need an external tuner, or is that just overkill?
Look, a 49:1 transformer is a solid starting point, but don’t treat it like a magic wand. If you get your wire length exactly right and mount it high enough—I’m talking at least 25 feet up to keep the ground losses from eating your signal—you might find it’s resonant across most of your bands without help. But if the environment changes or you’re working a tight spot, that tuner isn’t overkill; it’s your insurance policy.
How much does the type of wire I use—like standard speaker wire versus actual stranded copper—actually change my SWR readings?
Look, if you’re asking if speaker wire will change your SWR, the short answer is: not much, provided the gauge is thick enough to handle the current. SWR is about geometry and impedance, not the brand name on the insulation. However, I’ve seen people use thin, high-resistance wire that gets warm and loses efficiency. Use decent stranded copper; it’s more forgiving when you’re throwing it over a tree limb at 25 feet.
