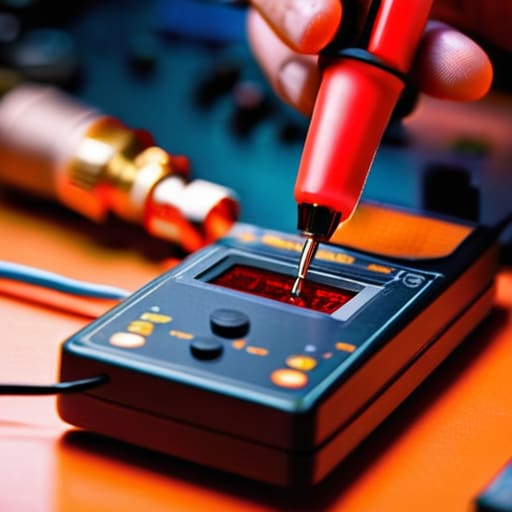
I remember sitting in my dad’s garage at fifteen, staring at a circuit board that refused to wake up, convinced I had broken something expensive. I had a brand-new digital meter in my hand, but I was just spinning the dial and praying for a number that made sense. Most manuals will tell you how to use a multimeter by walking you through every button and menu like you’re operating a flight simulator, but they rarely teach you how to actually see the electricity. They don’t tell you that a reading can lie to you if your probes are dirty or if you’re measuring a high-impedance circuit with a cheap meter that wasn’t built for the job.
In this guide, I’m stripping away the fluff to show you the practical reality of troubleshooting. We aren’t just going to talk about settings; I’m going to show you how to stop chasing ghosts in your wiring and how to trust what those numbers are actually telling you. Whether you’re checking a battery for your portable rig or hunting for a cold solder joint on a transceiver, you’ll learn how to use a multimeter with actual confidence. No textbook nonsense—just the real-world methods I’ve used to keep my gear running for decades.
Table of Contents
- Step-by-Step Instructions
- Analog vs Digital Multimeter Which One Actually Gives Truth
- Testing Electrical Circuits Without Relying on Pure Luck
- Five Things Your Manual Won't Tell You (But Your Troubleshooting Should)
- Three Things to Remember Before You Probe
- ## Stop Chasing Ghosts
- Beyond the Probes
- Frequently Asked Questions
Guide Overview
Tools & Supplies
- Digital Multimeter (The primary device for measuring voltage, current, and resistance)
- Test Leads (Probes used to connect the meter to the circuit)
- AA or 9V Batteries (For testing voltage levels)
- Assorted Resistors (For practicing resistance measurements)
- Small Electronic Circuit (To practice real-world application)
Step-by-Step Instructions
- 1. First, you need to figure out what you’re actually looking for before you even touch the probes to the circuit. If you’re hunting for a broken trace, you want continuity; if you’re checking if a battery is actually holding its charge, you need DC voltage. Don’t just spin the dial around blindly hoping to stumble onto the right setting—that’s a quick way to blow a fuse in your meter or, worse, get a reading that tells you everything is fine when it isn’t.
- 2. Plug your leads into the right jacks. This is where I see most people trip up. Most meters have a common port (usually black) and a primary input (usually red). If you’re measuring voltage or resistance, the red lead stays in the V/Ω port. But if you’re doing something more heavy-duty like measuring high current, that red lead has to move to the 10A or mA port. If you try to measure current while the lead is in the voltage jack, you’ll hear a very unpleasant pop and your meter will be a paperweight for the rest of the afternoon.
- 3. Set your dial to the appropriate range. If you have a manual-ranging meter, don’t be afraid to start at the highest possible setting and work your way down. I’ve seen plenty of beginners try to measure a 12V lead with a meter set to millivolts, and it won’t give you a reading—it’ll just give you a headache. Once you get a stable number, then you can dial it down to get the fine-grained precision you actually need.
- 4. Check your continuity with the “beep” test. If you’re troubleshooting a coax cable or a jumper wire, turn the dial to the continuity symbol (the one that looks like a little sound wave). Touch your probes together first to make sure the meter actually chirps. Then, touch them to the ends of your wire. A solid, continuous beep means the path is clear, but if it’s intermittent or raspy, you’ve got a cold solder joint or a fray somewhere that’s going to cause signal loss later.
- 5. Measuring voltage requires a steady hand and a bit of caution. When you’re probing a live circuit, place your black lead on the ground or the negative terminal first. Then, take the red probe and touch it to the point you’re testing. I always recommend using one hand to hold the probe if you can, keeping your other hand in your pocket. It sounds like old-timer superstition, but it’s a good habit to prevent a current path through your chest if something unexpectedly shorts.
- 6. When you’re measuring resistance, make sure the circuit is completely de-energized. This isn’t optional. If there’s even a tiny bit of residual voltage from a capacitor, it’ll throw your Ohms reading completely out of whack, or it’ll fry the internal shunt of your meter. I always double-check with a voltage setting first just to be absolutely certain the line is dead before I switch over to measure resistance.
- 7. Finally, look at the actual number and the units. It sounds simple, but I’ve seen people stare at a reading of “0.5” and not realize the meter is set to kilo-ohms instead of ohms. Always check the little letters on the screen—is it mV, V, kΩ, or MΩ? If your reading looks suspiciously high or low, re-verify your scale before you go tearing apart a perfectly good radio rig based on a decimal point error.
Analog vs Digital Multimeter Which One Actually Gives Truth
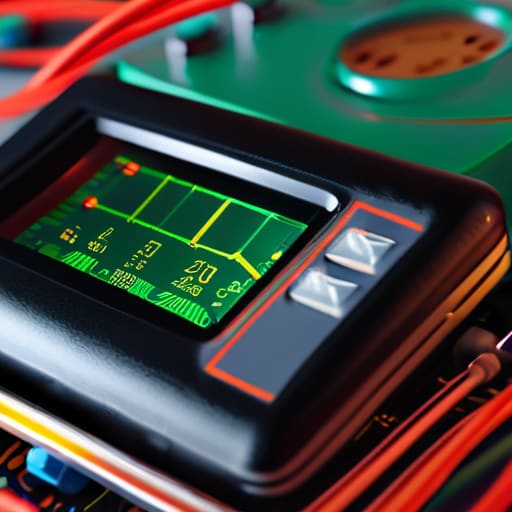
If you walk into a modern shop, you’ll see a wall of sleek, plastic digital units, and for 90% of what I do, that’s exactly what I reach for. A digital multimeter is great because it gives you a hard number that doesn’t dance around, which is vital when you’re testing electrical circuits for a specific voltage drop. But don’t let the convenience make you lazy. Digital meters can sometimes struggle with “ghost voltages”—those phantom readings you get from capacitive coupling that aren’t actually doing any work. If you’re chasing a signal that isn’t there, a digital readout might lie to you by being too precise about something that isn’t real.
That’s where the old analog needles come in. I still keep a well-calibrated moving-coil meter in my kit because there is no substitute for watching a needle sweep. When you’re measuring resistance with a multimeter or looking for a fluctuating signal in a power supply, the needle shows you the trend in real-time. It tells you if a voltage is sagging or spiking in a way a digital screen simply can’t match. If you want the raw truth of a changing current, stop looking at digits and start watching the swing.
Testing Electrical Circuits Without Relying on Pure Luck
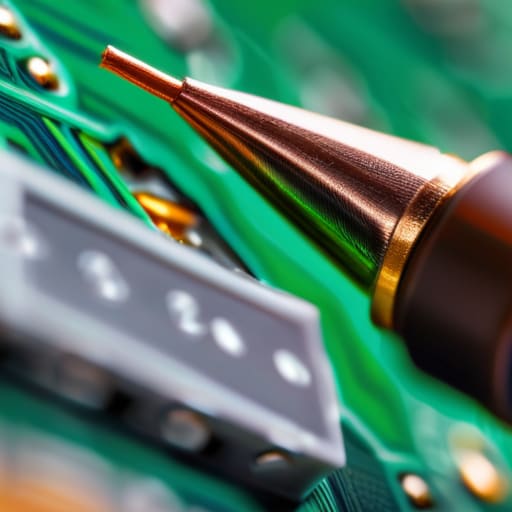
We’ve all been there: you’re chasing a phantom ground loop or a noisy power supply, and you keep getting different readings every time you probe the same point. That isn’t “unpredictable physics”—it’s usually just poor technique. When you’re testing electrical circuits, especially in a high-RF environment like a shack, your body and your leads act like antennas. If you aren’t careful with your multimeter probe placement, you’re essentially injecting noise into your own measurement. I’ve lost more afternoons than I care to admit because I was trying to measure a millivolt drop while my hand was hovering right over a high-gain coax, effectively coupling my own body capacitance into the circuit.
If you want to stop guessing, you have to treat the meter like a precision instrument rather than a glorified screwdriver. This means being disciplined about your connections. Don’t just jam a probe against a terminal and hope for the best; ensure you have a solid, clean contact point. If you’re measuring resistance with a multimeter, for heaven’s sake, turn the power off first. I’ve seen plenty of newcomers try to check continuity on a live rail, and all they end up doing is blowing a fuse or, worse, getting a reading that looks “fine” simply because the meter is being overwhelmed by the circuit’s own voltage.
Five Things Your Manual Won't Tell You (But Your Troubleshooting Should)
- Stop treating the continuity beep like a magic wand. It’s a great tool for finding a break in a coax line or a blown fuse, but it won’t tell you if you’ve got a high-resistance connection that’s dropping voltage under load. If your radio is getting wonky power, don’t just check for continuity; measure the actual voltage while the rig is drawing current.
- Watch your range settings like a hawk. I’ve seen too many beginners try to measure a high-voltage power supply on the 200mV DC scale, and it’s a fast way to turn a decent meter into a very expensive paperweight. If you aren’t sure what you’re looking at, start at the highest range and work your way down. It’s better to be imprecise for a second than to fry your equipment.
- Capacitors are liars. You might measure a voltage, think the circuit is dead, and then get a nasty surprise when you touch a probe to a charged capacitor. Always verify your discharge with your meter before you start poking around a power supply board. I don’t care if the unit has been unplugged for an hour; treat every rail like it’s live until you’ve proven otherwise.
- Lead resistance is real and it matters. If you’re trying to measure a low-ohm component—like a shunt resistor or a winding in a transformer—and your meter is reading 0.5 ohms when you know it should be zero, your leads are the problem. Touch your probes together first to see your “true zero.” If your leads are junk, your measurements are just educated guesses.
- Don’t forget the ground. In the RF world, we spend half our lives chasing ground loops and bad shielding. When you’re testing a circuit, don’t just assume the chassis is a perfect zero-volt reference. Use your meter to check the potential between your power supply ground and your equipment chassis. If there’s a delta there, your signal-to-noise ratio is going to suffer, no matter how good your antenna is.
Three Things to Remember Before You Probe
Stop trusting the schematic blindly; a multimeter is there to tell you what is actually happening in the copper, not what the manufacturer promised would happen.
Don’t get blinded by high-end digital displays; if you’re chasing a fluctuating signal or a noisy ground, sometimes a steady analog needle tells the real story of the instability.
Always verify your leads and settings first, because there is nothing more frustrating than spending an hour troubleshooting a circuit only to realize you were just measuring the resistance of a bad probe connection.
## Stop Chasing Ghosts
A multimeter isn’t a magic wand that tells you why a circuit is failing; it’s just a tool that tells you where the electricity actually is—or isn’t. If you aren’t probing the line yourself to see if that connection is real, you aren’t troubleshooting, you’re just guessing and hoping the universe agrees with you.
Wren Castellano
Beyond the Probes
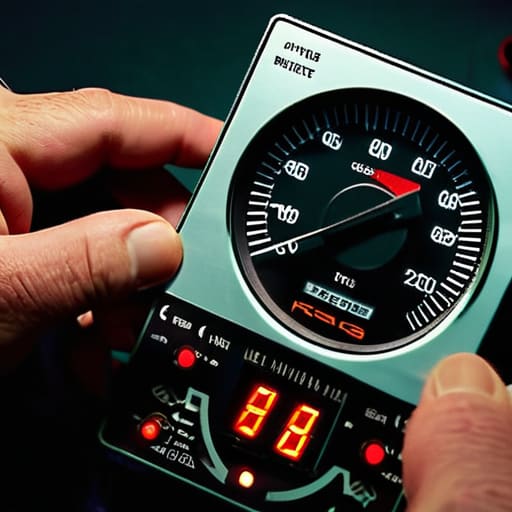
At the end of the day, a multimeter isn’t just a box of buttons; it’s your eyes when you’re staring at a circuit board that refuses to cooperate. We’ve talked about why you can’t just trust a digital readout without understanding the context of your measurement, and why choosing between analog and digital comes down to whether you need a quick snapshot or a nuanced look at a shifting signal. Remember, whether you are checking continuity on a coax shield or measuring the voltage drop across a poorly soldered joint, the goal is the same: stop guessing and start knowing. If the numbers don’t make sense, don’t just assume the meter is broken—re-evaluate your ground, check your leads, and make sure you aren’t just chasing ghosts in a circuit that was never meant to work that way.
There is a specific kind of quiet satisfaction that comes when you finally find that one faulty component or that tiny voltage leak that’s been ruining your signal-to-noise ratio. It’s the moment when the mystery stops being a headache and starts being a solvable engineering problem. Don’t let the gear intimidate you, and don’t let a bad reading discourage you from digging deeper. Radio, electronics, and everything in between are built on these fundamental truths, and once you master the ability to measure them accurately, you stop being a spectator and start being a builder. Now, get out there, grab your meter, and see what’s actually happening under the hood.
Frequently Asked Questions
Why does my multimeter show a reading that's way off when I'm testing a live circuit compared to when it's powered down?
You’re likely running into the “loading effect.” Most decent multimeters have a high input impedance, but they aren’t infinite. When you probe a live circuit—especially one with high-resistance components or sensitive semiconductor junctions—the meter itself starts drawing a tiny bit of current to take the measurement. That current subtly alters the very voltage you’re trying to measure. It’s not your meter being broken; it’s physics interfering with your probe.
Is it actually worth spending the extra money on a True RMS meter, or is that just marketing fluff for people who don't understand waveforms?
If you’re just checking if a 9V battery is dead, a cheap meter is fine. But if you’re measuring anything with a non-sinusoidal waveform—like a switching power supply or a motor controller—an average-responding meter will lie to your face. It’ll give you a reading that looks stable but is mathematically wrong. For an RF engineer or anyone working with modern electronics, True RMS isn’t marketing fluff; it’s the difference between seeing reality and chasing ghosts.
How do I know if my probes are actually making a good connection, or if I'm just getting a false reading because of oxidation on the component?
If you’re getting a reading that looks “almost” right, don’t trust it. Oxidation is a liar. First, check your probes—if the tips are pitted or dull, you’re just measuring contact resistance, not the circuit. Use a bit of fine abrasive or isopropyl alcohol on the component leads if they look dull. Most importantly, wiggle the probe while measuring; if the numbers jump, you’ve got a bad connection, not a fluctuating voltage.
