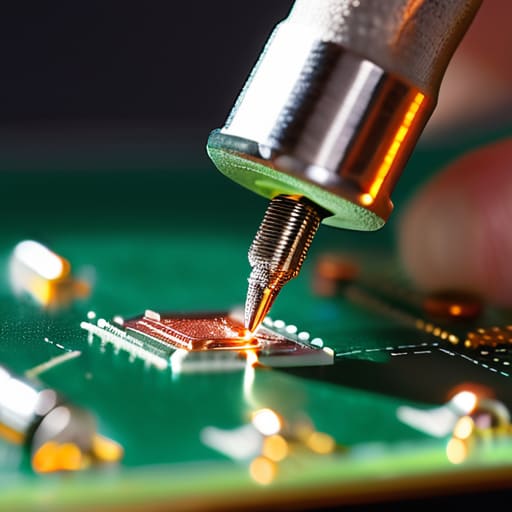
I spent three hours last Tuesday hunched over a broken SDR receiver, staring at a 0402 resistor that looked more like a speck of dust than a component. Most people will tell you that you need a $500 digital microscope and a steady hand like a neurosurgeon to handle tiny components, but that’s a load of rubbish. The truth is, learning how to work with smd isn’t about having expensive toys; it’s about understanding heat transfer and having the right patience when things get frustrating. I’ve spent twenty years moving from through-hole parts that you could practically grab with tweezers to these microscopic bits, and I’ve learned that most of the “expert” advice out there ignores the reality of a messy workbench and a shaky hand.
In this guide, I’m skipping the theoretical fluff and getting straight to the gear and techniques that actually work in a real workshop. I’ll show you the specific flux types that stop bridges before they happen, how to manage your thermal profile so you don’t lift a pad, and why your cheap iron might be your biggest enemy. We are going to talk about real measurements and real results, not just what the manufacturer’s datasheet says should happen in a perfect vacuum.
Table of Contents
- Step-by-Step Instructions
- Mastering Solder Paste Application Techniques Without the Mess
- Flux Importance in Smd Soldering More Than Just a Chemical
- Five Things I Wish I Knew Before I Started Moving to SMD
- The Bottom Line
- ## The Reality of the Scale
- Getting It Right the First Time
- Frequently Asked Questions
Guide Overview
Tools & Supplies
- Soldering Station (Temperature controlled for precision)
- Fine-tip Tweezers (Anti-static for component placement)
- Magnification (Digital microscope or jeweler's loupe)
- Hot Air Rework Station (For removing/attaching multi-pin chips)
- Solder Sucker/Wick (For cleaning up excess solder)
- Solder Paste (Fine grain for SMD pads)
- Flux (Tacky gel type to aid heat transfer)
- Solder Wire (Thin diameter, e.g., 0.3mm – 0.5mm)
- Solder Mask Pen (For repairing damaged traces)
Step-by-Step Instructions
- 1. First, you need to clear your workspace of the usual clutter and get the right tools. Forget the heavy-duty soldering iron you use for chassis wiring; for SMD, you need a fine-tip iron or, ideally, a dedicated hot air rework station. If you’re working with components smaller than a grain of rice, don’t even bother trying to use a standard iron—you’ll just end up heating up the entire board and potentially delaminating the traces. Grab a decent set of anti-static tweezers and a magnifying lamp, because if you can’t actually see what you’re doing, you’re just guessing.
- 2. Clean your pads before you even think about applying heat. I’ve seen too many people try to solder a new chip onto pads that are still covered in old, oxidized solder or leftover flux from a previous repair. Use some high-quality Isopropyl Alcohol (90% or higher) and a lint-free swab to get those surfaces looking like new. If the pads are stubborn, a tiny bit of solder wick can help, but be careful not to soak up too much of the copper cladding in the process.
- 3. Apply a very small amount of high-quality tacky flux to the pads. This isn’t optional; it’s the difference between a clean joint and a bridged mess. The flux does the heavy lifting by reducing surface tension and helping the solder flow exactly where it’s supposed to go. I prefer a gel-based flux for SMD work because it stays put and doesn’t run all over the board like the liquid stuff does when things get hot.
- 4. If you’re using a soldering iron for larger components (like 1206 or 0805 sizes), use the “one-pad” method. Tack down one side of the component first to secure its position, then move to the other side. For the tiny stuff, like 0402s, you’re better off using a hot air station. Spread a tiny bit of solder on one pad first, then use the tweezers to slide the component into place while you’re heating it. Once the solder reflows, the component will snap into position via surface tension. It feels like magic the first time you see it, but it’s just physics.
- 5. Once the component is seated, inspect your work under that magnifying glass. You’re looking for a nice, concave fillet around the edges of the component. If you see a bridge—where the solder is connecting two adjacent pads—don’t panic. Don’t just keep adding heat; that’s how you lift a pad right off the board. Instead, add a little more flux and use your solder wick to wick away the excess. It’s much easier to fix a bridge with fresh flux than it is to fix a dead board.
- 6. The final step is the one everyone skips, and it’s the one that causes “ghost” failures months down the line: cleaning the residue. Even “no-clean” flux leaves behind a microscopic film that can become hygroscopic, meaning it can actually absorb moisture from the air and cause leakage currents or corrosion. Use your IPA and a brush to scrub the area until it’s spotless. If you’ve done it right, the board should look as clean as it did when it left the factory.
Mastering Solder Paste Application Techniques Without the Mess
If you’re trying to apply paste with a needle or a tiny spatula, you’re essentially playing a high-stakes game of “guess where the bridge is.” I’ve spent enough late nights under a magnifying lamp to know that the secret isn’t in how much paste you use, but in the consistency of the deposit. If you’re working on a small scale, I recommend using a syringe with a fine-gauge blunt tip. You want just enough to cover the pad, but if you see a bead forming that looks like it’s about to overflow, stop. Over-applying is the fastest way to end up with a bridge that no amount of wick can save you from.
Once the paste is down, don’t rush the heat. This is where flux importance in smd soldering really hits home; the flux is doing the heavy lifting to clean the oxides while the metal transitions to liquid. If you’re using a hot air station, keep the nozzle moving in small, concentric circles. If you stay in one spot too long, you’ll end up preventing thermal damage to PCB traces by doing the exact opposite—you’ll lift the pad right off the board. It’s a fine line between a solid joint and a ruined evening.
Flux Importance in Smd Soldering More Than Just a Chemical
If you think flux is just a cleaning agent that makes the solder look shiny, you’re going to have a bad time when you’re staring at a bridge under a microscope. In my experience, flux is the actual engine of the joint. It breaks down the oxidation on those tiny pads that you can barely see, allowing the solder to actually wet the surface rather than just balling up like water on a waxed car. I’ve spent far too many evenings performing microscopic inspection for smd repairs only to find that a “clean” looking joint was actually just sitting on top of a layer of oxide because the flux had burned off too early.
The trick is managing your heat profile. If you’re using a hot air station, you have to be careful; if you cook the flux too fast, it turns into a crusty, non-conductive mess that refuses to work. I always suggest using a high-quality tacky flux rather than just the stuff inside the paste. It gives you a bit more of a safety margin when you’re working on tight clearances, which is vital for preventing thermal damage to pcb traces that can delaminate if you’re hovering too long. Don’t skimp here—the chemistry matters as much as the temperature.
Five Things I Wish I Knew Before I Started Moving to SMD
- Stop using the same iron for through-hole and SMD. If you’re trying to tackle a 0603 component with a massive, blunt tip meant for a heavy-gauge wire, you’re going to lift pads or cook the board before you even get a decent wetting angle. Get a fine, conical tip and a temperature-controlled station; guessing the heat is how you end up with a dead PCB.
- Magnification isn’t a luxury, it’s a requirement. I used to think I could eyeball a fine-pitch IC, but I was just squinting and hoping for the best. Get a decent stereo microscope or at least a high-quality digital loupe. If you can’t see the meniscus of the solder forming around the lead, you aren’t actually soldering—you’re just praying.
- Use tweezers that actually grip. I’ve seen too many people try to use cheap, blunt-nosed hobby tweezers to hold a tiny resistor, only to have it spring away like a startled insect the moment the solder melts. Get some high-quality, anti-magnetic, fine-point tweezers. It makes the difference between a controlled placement and a frantic scavenger hunt across your workbench.
- Don’t fear the “tack and flow” method. One of the biggest mistakes beginners make is trying to place all the components at once. Instead, put a tiny amount of solder on one pad of the footprint, slide your component in with your tweezers until it’s seated, and tack it down. Once that one corner is anchored, the rest of the job becomes a controlled process rather than a chaotic mess.
- Keep your workspace clean, especially regarding oxidation. If you’re working on an older board or some salvaged scrap, give the pads a quick wipe with some high-purity isopropyl alcohol before you start. If there’s a layer of grime or old flux sitting there, your solder is going to bead up and roll off like water on a waxed car, and no amount of extra flux is going to fix a dirty surface.
The Bottom Line
Stop skimping on flux; it isn’t just a cleaning agent, it’s what actually makes the solder flow where you want it instead of making a bridge that ruins your entire evening.
Precision matters more than speed when applying paste—if you’re eyeballing it and seeing blobs, you’re going to end up with cold joints or shorts that are a nightmare to desolder.
Don’t trust your eyes alone; if you’re working on something critical, use a microscope or at least a high-quality loupe, because what looks “fine” at arm’s length is often a disaster under a multimeter.
## The Reality of the Scale
You can buy the most expensive hot air station on the market, but it won’t save you if you’re treating a 0603 resistor like a through-hole component; SMD isn’t about brute force, it’s about thermal management and having the patience to wait for the solder to actually behave instead of forcing it.
Wren Castellano
Getting It Right the First Time
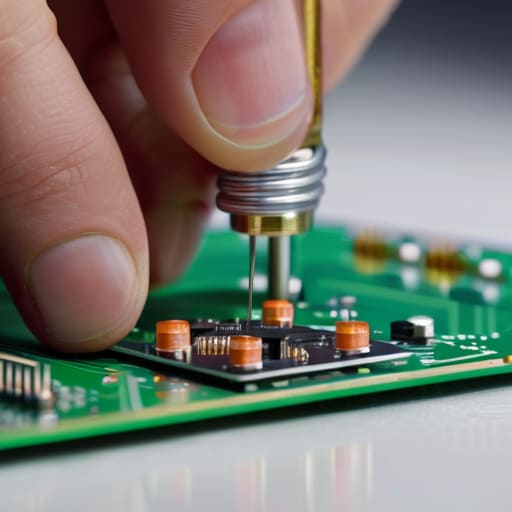
At the end of the day, successful SMD work isn’t about having a laboratory-grade reflow oven or a steady hand that never shakes; it’s about respecting the physics of the joint. We’ve talked about why you can’t skimp on the flux, why your solder paste application needs to be precise rather than generous, and why patience is your most important tool when you’re staring down a tiny 0603 resistor. If you find yourself staring at a bridged connection or a component that won’t stay seated, don’t just keep heating it up. Stop, clean the area, and re-evaluate your temperature profile. I’ve spent more nights than I care to admit staring at a microscope because I tried to rush a board through, and let me tell you, measuring your results is always faster than fixing a disaster.
There is a specific kind of satisfaction that comes from taking a handful of microscopic components and turning them into a functioning, high-frequency circuit that actually performs to spec. It can be frustrating when a component looks like a speck of dust, but that’s where the real learning happens. Don’t let the scale of the parts intimidate you; once you master the thermal management and the chemistry of the solder, you’ll realize that precision is a skill you build, not a gift you’re born with. Keep your iron clean, keep your flux handy, and most importantly, keep testing. Radio is about understanding the signal, and that understanding starts right there on your workbench.
Frequently Asked Questions
I’ve got a steady hand, but how do I stop the components from "tombstoning" and standing straight up on one end after I reflow them?
Tombstoning is almost always a thermal imbalance issue. If one pad heats up faster than the other, the solder on that side wets first, and the surface tension pulls the component upright like a tiny, frustrating monument. Check your pad sizes; if one is significantly larger, it acts like a heat sink and stays cool longer. Also, ensure your paste application is symmetrical. If you’re uneven with the stencil, you’re inviting the physics to fight you.
Is it actually worth investing in a proper hot air rework station, or can I get away with a high-wattage iron and some luck for small-scale repairs?
Look, if you’re just swapping a single resistor on a board that isn’t worth much, you can probably get away with a high-wattage iron and a prayer. But if you’re working on something like a modern SDR or a multi-layer PCB, “luck” is a terrible engineering strategy. A proper hot air station gives you controlled thermal profiles. Without it, you’re just playing a high-stakes game of heating the pads until the traces delaminate. Get the air station.
When I'm working on something as delicate as an SDR front-end, how do I know if I've applied too much heat and actually compromised the internal structure of the component?
Look, you won’t see a “warning” light when you’ve cooked a component. If you’re working on a sensitive SDR front-end, watch for the tell-tale signs: discoloration of the PCB substrate or a slight “bubbling” of the solder mask. If the component body looks dull instead of having that healthy, liquid sheen, you’ve likely pushed it too far. Honestly, if you’re seeing smoke or a weird chemical smell, you’ve already lost the battle. Use a thermocouple next time; stop guessing.
