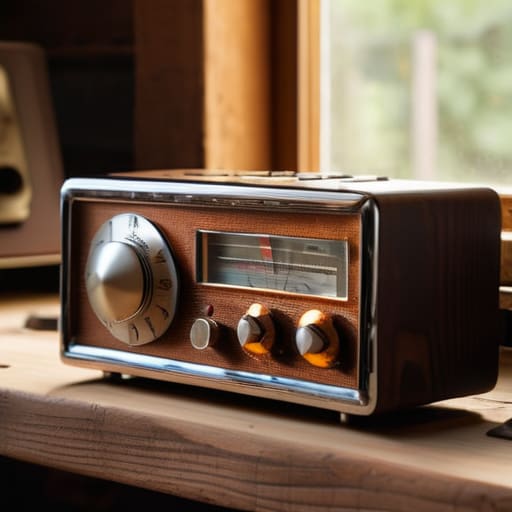
I spent three hours last Tuesday sitting in a damp field, staring at a spectrum analyzer that was telling me absolutely nothing useful because the rig I’d just picked up on a local forum had a dying receiver stage. The seller had been adamant that it “worked like a charm,” but they were clearly just riding a massive solar spike that masked the noise floor issues. When you’re hunting for gear, people will try to sell you on the shiny knobs and the brand name, but knowing what to look for in a used radio has very little to do with how much it cost in 1995. If you aren’t checking the actual stability of the local oscillator or looking for signs of acid leakage from old electrolytic capacitors, you aren’t buying a radio—you’re buying a very expensive paperweight.
I’m not here to give you a checklist of marketing buzzwords or tell you which brand is “legendary.” My promise to you is simpler: I’m going to tell you how to test the components that actually matter. We’re going to talk about signal purity, thermal stability, and how to spot the difference between a rig that’s well-maintained and one that’s been beaten on a workbench for twenty years.
Table of Contents
Inspecting Vintage Radio Components Without Getting Fooled
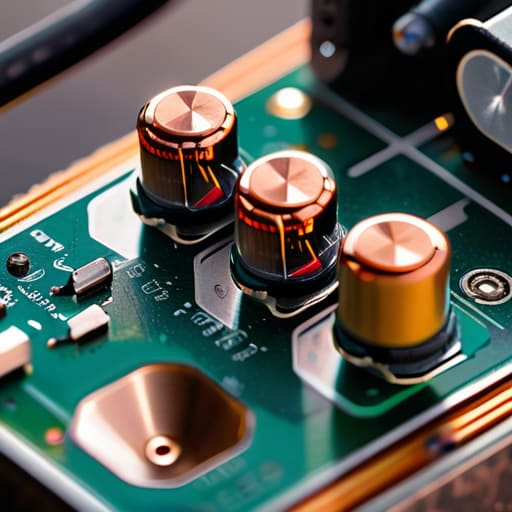
When you crack open a chassis, don’t just look for dust; look for the story the components are telling you. If you see a graveyard of leaking electrolytic capacitors or those telltale dark scorch marks around a power transistor, walk away—or prepare to spend your entire weekend with a soldering iron and a desoldering pump. Common radio hardware failures often start with heat, so check the mounting of the final transistors. If they look like they’ve been baked in a kiln, the heat sinking was likely inadequate, and you might be looking at a rig with compromised traces or even a failing transformer.
I also tell people to keep a sharp eye on the mechanical side of things. If it’s a tube rig, check the sockets for oxidation; if it’s solid-state, look at the potentiometers. If the tuning feels “crunchy” or gritty, those contacts are oxidized, and you’ll be fighting intermittent signal drops for months. Inspecting vintage radio components is as much about touch and smell as it is about sight. If it smells like ozone or burnt phenolic resin, that radio has been pushed far beyond its design limits, and no amount of cleaning will fix the underlying damage.
Common Radio Hardware Failures That Kill Your Budget
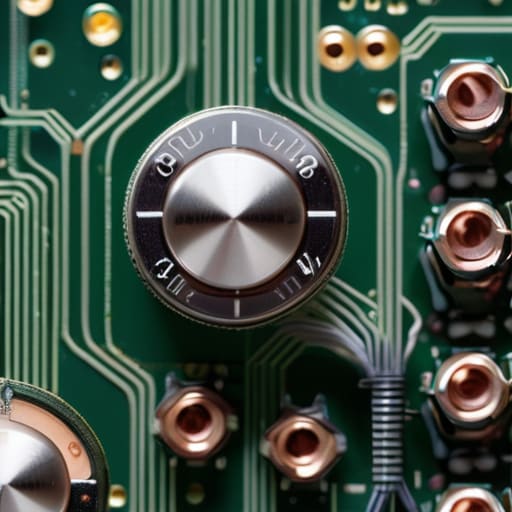
When you’re digging through a pile of gear, you have to look past the shiny chassis and check the stuff that actually matters. One of the most frequent common radio hardware failures I see in older rigs involves the electrolytic capacitors. They’re essentially little chemical batteries that dry out over twenty years; if you see any leaking fluid or bulging tops, walk away. Even if the rig seems fine on the bench, those aging caps can cause erratic frequency drift. I’ve spent far too many afternoons chasing used radio frequency stability issues only to find a single dried-out capacitor in the PLL loop was the culprit.
Then there’s the power amplifier stage. If the previous owner pushed a heavy load or used a poorly matched antenna, they might have cooked the final transistors. You can sometimes spot this during audio output quality testing—if the signal distorts or loses power significantly as you increase the gain, the PA is likely wounded. It’s a costly fix that can easily turn a “bargain” into a money pit. Always ask if they’ve seen a high VSWR alarm lately; if they hesitate, they might be hiding a dying final.
Five Red Flags That Should Make You Walk Away
- Check the connector integrity. If you see a rig with mismatched PL-259s or connectors that look like they’ve been soldered and desoldered a dozen times, walk away. It’s usually a sign that the previous owner was fighting a high SWR issue they couldn’t solve, and they likely cooked the final transistors trying to force it through.
- Demand a real test, not just a “it powers on” claim. A radio might look fine on the bench, but if the seller can’t demonstrate a clean signal on a band with moderate solar activity, you’re just buying a paperweight. I don’t care if the screen lights up; I want to see the frequency stability under a slight load.
- Look for “modding” scars. If the chassis is covered in non-standard drill holes or there’s a mess of jumper wires visible through the vents, be careful. I’ve seen plenty of “upgraded” rigs where a well-meaning amateur accidentally bypassed a critical protection circuit, turning a reliable transceiver into a ticking time bomb.
- Inspect the display and knobs for physical fatigue. If the tuning knob feels gritty or the LCD has those inevitable dark patches, it tells me how the radio was treated. A rig that’s been bounced around in a truck bed or left in a damp shack is going to have internal corrosion that no amount of contact cleaner will fix.
- Verify the cooling system. Open the vent and look for dust buildup or signs of dried-out electrolytic capacitors near the heat sinks. If the radio has been run hard—like in a contest environment or a high-duty cycle repeater—the thermal stress on the components is much higher, and you’ll likely be replacing something within the first six months of owning it.
The Bottom Line Before You Hand Over the Cash
Never buy a rig based on a “looks good in photos” assessment; if you can’t see a steady, clean signal on a spectrum analyzer or a decent SWR reading on a known load, you’re just buying a very expensive paperweight.
Check the cooling fans and heat sinks—if the previous owner ran this thing at full tilt on HF without any airflow, the internal components have likely been cooking for years, and you’ll be replacing them sooner rather than later.
Always ask for a specific test report or a video of the radio operating under low solar activity; anyone can claim a rig is “perfect” when the ionosphere is wide open, but you want to know how it performs when the conditions are actually working against you.
The Real Cost of a "Good Deal"
Don’t let a shiny chassis or a low price tag distract you; a radio that looks mint but has drifted ten kilohertz off-frequency because of a dying crystal or a leaking electrolytic capacitor isn’t a bargain—it’s a project you didn’t sign up for.
Wren Castellano
The Final Check
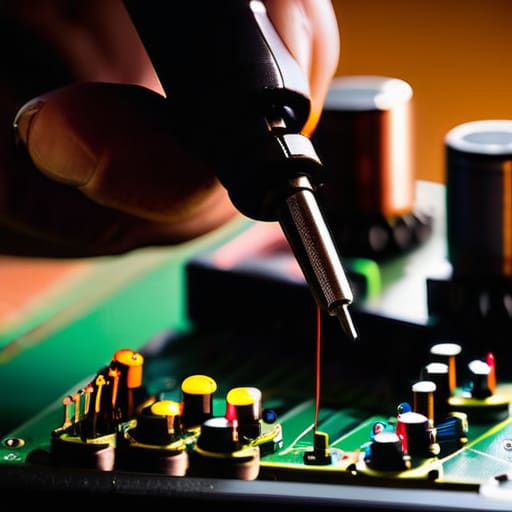
At the end of the day, buying used gear is a trade-off between a bargain and a potential headache. You’ve looked at the capacitors, you’ve checked for the tell-tale signs of overheating on the PCB, and you’ve hopefully verified that the power amplifier isn’t just screaming into a void of high VSWR. Don’t let a shiny chassis distract you from a messy internal layout or a history of questionable repairs. If the seller can’t walk you through a basic test—showing you a clean signal or a stable frequency lock—then you aren’t buying a radio, you’re buying a lottery ticket. Stick to the measurements, trust your eyes more than the marketing fluff, and remember that a cheap rig becomes the most expensive thing you own the moment it fails on a clear night.
But don’t let the fear of a bad deal keep you from the workbench. There is a specific kind of satisfaction that comes from taking a piece of gear that someone else gave up on, cleaning the oxidation off the contacts, and hearing that first clear DX contact after a successful repair. Radio is about more than just clicking buttons on a modern SDR; it’s about the connection between the hardware and the physics of the air around us. If you do your homework and buy with a bit of measured skepticism, you won’t just be acquiring a tool—you’ll be continuing the cycle of keeping this hobby alive, one well-maintained transceiver at a time.
Frequently Asked Questions
Should I be worried about the signal drift on these older VFOs, or is that just part of the charm?
“Charm” is a nice word for it, but in practice, it’s just a headache. If you’re looking at a rig with a VFO that drifts more than a few hundred Hertz after it warms up, it’s usually a sign of aging capacitors or a poorly compensated temperature coefficient in the oscillator circuit. I’ve seen it a dozen times. If you can live with constant retuning, go for it; if you want to actually work a station, it’s a problem.
If the seller says the rig "works perfectly," what specific tests should I demand to see before I hand over the cash?
“Works perfectly” is a phrase that scares me. It’s too broad. If they won’t let you see it in action, walk away. I want to see a clean signal on a band with low solar activity—don’t let them claim a miracle just because the ionosphere was wide open. Ask to see the SWR reading on a known good load, and if it’s a transceiver, make sure the receiver isn’t deaf when you’re testing it away from a high-power source.
Is it worth paying a premium for a radio with a low number of operating hours, or does that tell me nothing about how well it was actually maintained?
Low hours are a bit of a vanity metric. I’ve seen rigs with 50 hours that sat in a damp garage and died, and rigs with 5,000 hours that were kept in a climate-controlled shack and are still pristine. Instead of obsessing over the hour meter, look at the chassis. Is there dust buildup in the fan housing? Are the connectors oxidized? I’d rather buy a well-loved rig with high hours than a “mint” one that’s been rotting in storage.
