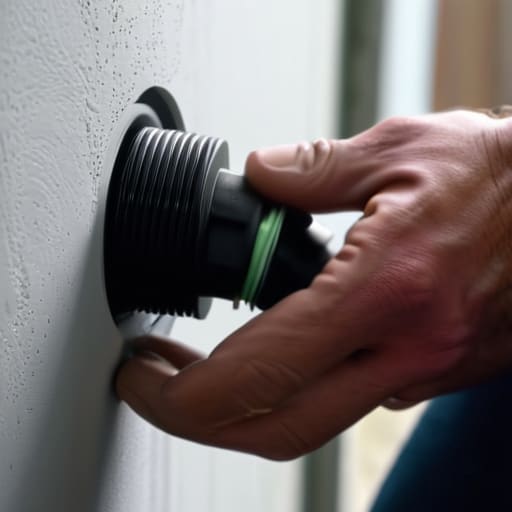
I remember sitting on my workshop floor five years ago, staring at a jagged hole in my drywall and a handful of stripped screws, wondering why my SWR was jumping like a startled rabbit every time the wind picked up. I had followed a generic online tutorial on how to install coax through a wall, but I’d neglected the one thing that actually matters: the physical reality of the penetration. I’d shoved the cable through a messy gap, left it exposed to the elements, and basically turned my house into a giant, unintentional antenna for local interference. It wasn’t just about getting the wire from point A to point B; it was about protecting the integrity of the signal and the structure itself.
In this guide, I’m going to skip the fluff and show you how to do this properly so you aren’t fixing it again in six months. We’ll cover everything from choosing the right drill bits to using weatherproofing methods that actually hold up when the rain hits. I’ll tell you exactly where people usually mess up—like forgetting about the drip loop—and how to ensure your installation looks professional rather than like a DIY disaster.
Table of Contents
- Step-by-Step Instructions
- Drilling Holes for Coaxial Cable Without Ruining Your Structure
- Preventing Moisture Ingress and Using the Right Sealant
- Five Things the Manual Won't Tell You About Running Coax
- Don't Undo Your Hard Work Before You've Even Started
- The Real Cost of a Shortcut
- The Final Connection
- Frequently Asked Questions
Guide Overview
Tools & Supplies
- Drill and drill bits (for creating the entry hole)
- Stud finder (to avoid drilling into wooden framing)
- Drywall saw (if cutting a hole for a wall plate)
- Fish tape or glow rods (to pull cable through the wall cavity)
- RG6 Coaxial Cable (length required for run)
- Low-voltage mounting bracket (to secure the wall plate)
- Coaxial wall plate and faceplate (for a professional finish)
- Wall bushings or grommets (to protect cable from sharp edges)
Step-by-Step Instructions
- 1. Before you even touch a drill, grab a stud finder and actually use it. I’ve seen too many people drill a perfect hole only to realize they’ve just punctured a live electrical wire or hit a structural stud that they now have to spend three hours repairing. Map out exactly where your cable needs to go and verify that the path is clear of anything that’s going to make your life miserable later.
- 2. Pick your drill bit based on the actual diameter of your coax, not the size of the hole you think you want. If you’re running LMR-400, don’t try to squeeze it through a tiny hole meant for RG-58; you’ll end up damaging the jacket and creating a moisture entry point. I usually go about a quarter-inch larger than the cable diameter to give myself some breathing room for the bend radius.
- 3. When you start drilling, do it from the outside in if you can. It’s much easier to control the bit when you’re working from the exterior, and it prevents the drywall on the inside from shattering or blowing out in a messy spray of white dust. If you have to drill from the inside, go slow and use a shallow depth setting so you don’t end up with a surprise in the next room.
- 4. Once the hole is through, don’t just shove the cable in and call it a day. You need to seal that gap. I use a bit of silicone sealant or a dedicated cable entry grommet to make sure the hole is weatherproof. If you leave it open, you aren’t just inviting rain into your house; you’re inviting insects and humidity that will eventually rot your cable from the inside out.
- 5. Manage your slack and your bend radius as you pull the line through. If you pull that coax tight like a guitar string, you’re going to deform the dielectric and change the impedance of the entire line, which means your SWR is going to look like a mountain range on the analyzer. Give it a little loop of slack where it enters the house; it makes the install look cleaner and keeps the signal stable.
- 6. Finally, secure the cable to the wall or the frame using clips that won’t crush the jacket. I’ve seen plenty of “pro” installs where the cable is cinched down so tight with zip ties that the copper core is practically touching the shield. Keep it neat but not tight, and make sure you haven’t created a kink that’ll turn your high-quality coax into a very expensive piece of string.
Drilling Holes for Coaxial Cable Without Ruining Your Structure
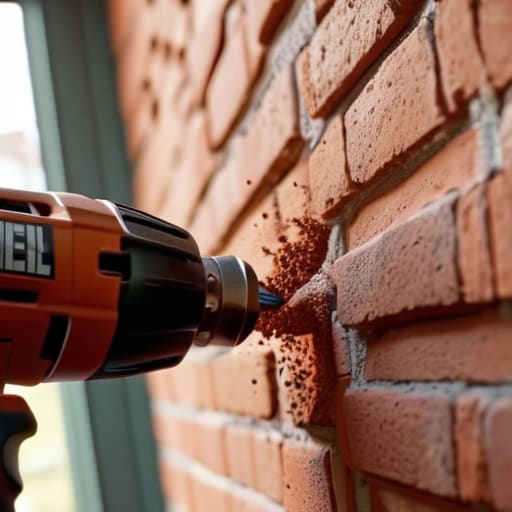
Before you pull the trigger on that drill, stop and think about what’s on the other side of that surface. If you’re working with brick or concrete, don’t try to muscle through with a standard wood bit; you’ll just end up with a smoking bit and a very frustrated afternoon. You need to be using a masonry drill bit specifically designed for the job, and honestly, a hammer drill is your best friend here. I’ve seen too many people try to “brute force” a hole through a foundation only to end up with a jagged, oversized mess that makes a proper seal impossible later.
Once you actually manage to get through, the real work begins with preventing moisture ingress. A hole in your exterior wall is essentially an invitation for rain to follow your cable straight into your living room or, worse, into your equipment rack. I don’t care how tight the fit looks; you need to use a high-quality sealant for cable entry points to plug any microscopic gaps. If you’re routing through an exterior wall, treat that hole like a wound that needs stitching. Don’t just slap some caulk on it and hope for the best; do it right so you aren’t dealing with rot in three years.
Preventing Moisture Ingress and Using the Right Sealant
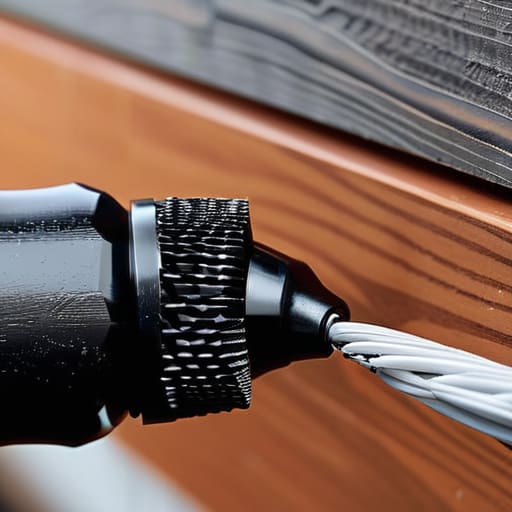
Look, I’ve seen enough rot in wall studs to know that a “good enough” seal is actually a death sentence for your house. If you’re doing cable routing through exterior walls, you can’t just shove the coax through and call it a day. Water is patient; it will find that microscopic gap between the jacket and your drill hole, follow the cable like a guide rail, and end up sitting in your drywall. When you’re preventing moisture ingress, don’t trust a standard bead of interior caulk. You need a high-quality silicone-based sealant for cable entry points that can handle the thermal expansion and contraction of the outdoor temperature swings.
If you’re working with brick or concrete, don’t just smear stuff on the outside. I always recommend a two-stage approach: pack a bit of dielectric grease or specialized sealant into the hole itself before sliding the cable in, then finish with a clean, weather-tight bead on the exterior. And for heaven’s sake, if you’re using a coax cable wall plate installation indoors, make sure the exterior side has a drip loop. It sounds basic, but that little U-shaped bend in the wire is the only thing stopping gravity from pulling rainwater straight into your jack.
Five Things the Manual Won't Tell You About Running Coax
- Watch your bend radius like a hawk. I’ve seen too many beginners try to shove a thick RG-8U into a tight corner behind a desk, only to find they’ve crushed the dielectric and spiked their VSWR. If the cable is kinked, your signal is fighting a battle it’s going to lose before it even hits the antenna.
- Don’t ignore the drip loop. This is non-negotiable. If you run your coax straight from the outside wall directly into your rig, every rainstorm becomes a direct delivery system for water into your electronics. Always let the cable loop down below the entry point so gravity pulls the water away from the hole, not into it.
- Use a bulkhead connector if you can. If you’re running a long stretch of coax through a wall, don’t just leave a messy cable tail sticking out of the siding. Use a weather-rated bulkhead. It gives you a clean, professional connection point on the exterior that’s much easier to service than trying to fish a new line through a closed wall three years from now.
- Check for “phantom” signal loss with a real meter. People love to rely on the SWR reading on their transceiver, but those things are often optimized for the rig, not the line. If you’ve just finished a run, use a dedicated wattmeter or a NanoVNA to see what’s actually happening at the end of that cable. If the loss is higher than your math says it should be, you probably have a bad crimp or a crushed dielectric somewhere in the wall.
- Mind the shielding in high-interference areas. If you’re drilling through an exterior wall near a power line or a heavy HVAC unit, your coax is basically acting as a long-wire antenna for that noise. If you start seeing a massive noise floor on your SDR, you might need to step up to a better-shielded cable or rethink the path of the run entirely.
Don't Undo Your Hard Work Before You've Even Started
Treat the hole like a permanent part of your home’s anatomy; if you don’t drill with a clear path and a bit of foresight, you’ll end up chasing studs or wires for the rest of the afternoon.
A seal that looks good on the surface isn’t necessarily waterproof; use high-quality, UV-rated sealant and actually check it after a heavy rain to make sure you aren’t inviting rot into your walls.
Remember that the coax is only as good as its installation; a sloppy run through a wall introduces more points of failure—and more potential for signal loss—than the cable itself ever would.
The Real Cost of a Shortcut
A hole in your wall isn’t just a path for your cable; it’s a permanent invitation for water, drafts, and pests to enter your house. If you treat a coax entry point like an afterthought, don’t be surprised when your signal drops because your dielectric is soaked or your house smells like damp drywall. Measure your path, seal it like you mean it, and remember: once that drill bit goes through, there’s no undo button.
Wren Castellano
The Final Connection
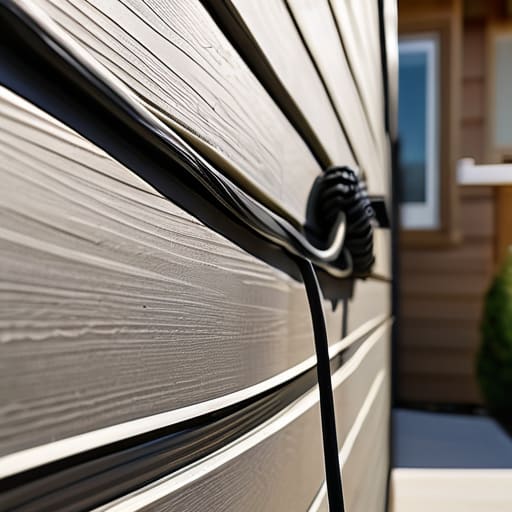
At the end of the day, a clean coax install is about more than just getting a wire from point A to point B; it’s about protecting the integrity of your station and your home. If you’ve taken the time to map your drill path to avoid studs, chosen a high-quality bulkhead or feedthrough, and used a properly rated silicone to keep the weather out, you’ve already done more than most. Don’t get lazy with the sealant or skip the drip loop just because you’re tired of being on a ladder. A single leak or a bit of water traveling down the jacket can turn a weekend project into a structural nightmare that no amount of signal gain can fix.
There is a specific kind of satisfaction that comes from looking at a well-executed installation—one that looks professional, stays dry, and doesn’t compromise the building it lives in. It’s easy to get caught up in the excitement of the new rig or the high SWR readings, but the real work happens in these small, practical details. Once that cable is seated, sealed, and tested, you can stop worrying about the hardware and start focusing on what actually matters: the magic of the airwaves. Get your antenna up, find your frequency, and I’ll see you on the bands.
Frequently Asked Questions
If I'm running the coax through an exterior wall, should I be worried about the temperature difference between the inside and outside affecting the cable's performance over time?
You should be, but not for the reasons people think. It’s not the signal loss from the temperature swing itself—though a cheap, non-foamed dielectric will certainly suffer—it’s the physical movement. As the cable cycles through temperature changes, it expands and contracts. If you’ve pulled it tight through a rigid bulkhead without a bit of slack or a drip loop, that thermal cycling will eventually fatigue the jacket or even pull your connector loose. Give it room to breathe.
Is it worth spending the extra money on LMR-400 for a short run through a wall, or am I just wasting cash when a cheaper RG-8X would do the job?
If your run is under five feet, honestly? Save your cash and grab the RG-8X. At that length, the loss difference is negligible, and you won’t even notice it on a decent rig. But if that “short run” is actually closer to fifteen or twenty feet—or if you’re working higher up on the VHF/UHF bands—get the LMR-400. I’ve seen too many people regret cheap coax when they realize they’re fighting attenuation instead of the ionosphere.
How do I deal with a situation where I've already drilled the hole and realized I'm too close to a stud or a piece of electrical conduit to safely continue?
Stop. Just stop right there. If you feel the drill bit bite into something that isn’t wood or masonry, or if you see a bit of copper or metal shavings that don’t look like your coax, back off. Don’t try to “nudge” it around. You’ve hit a stud or a conduit, and forcing it is how you end up with a house fire or a very expensive repair bill. At this point, you pivot. You plug the hole, patch it, and start a new hole a few inches away. It’s more work, but it’s better than a disaster.
