I spent my first year in the lab thinking that more heat meant a better connection, only to watch a perfectly good $50 PCB turn into a blackened, delaminated mess because I was trying to “force” the solder to melt. Most of the tutorials you find online make it look like magic—just touch the tip to the joint and poof, a perfect shiny bead appears. But if you’re struggling with cold joints that crack the moment you move a wire, or solder that beads up like water on a waxed car, you haven’t actually learned how to solder properly yet; you’ve just learned how to melt metal.
In this guide, I’m stripping away the fluff and the “magic” tricks to show you the actual physics of a good joint. I’ll walk you through why your iron temperature matters more than the brand name on the box, how to manage your flux like a professional, and how to recognize a solid mechanical and electrical bond versus a failure waiting to happen. No textbook jargon, just the practical reality of what works when you’re sitting at a cluttered workbench at 11:00 PM.
Table of Contents
- Step-by-Step Instructions
- Mastering Solder Wetting and Flow for Real Results
- Preventing Cold Solder Joints and Other Common Failures
- Five Ways to Stop Making Messy Joints and Start Making Connections
- The Bottom Line for Your Workbench
- ## The Truth About the Joint
- Beyond the Solder Joint
- Frequently Asked Questions
Guide Overview
Tools & Supplies
- Soldering iron (adjustable temperature preferred)
- Soldering stand (to prevent burns and fires)
- Desoldering pump or wick (for correcting mistakes)
- Sponge or brass cleaner (to clean the iron tip)
- Solder wire (60/40 leaded or lead-free rosin core)
- Flux (paste or pen to aid flow)
- Solder wick (copper braid for removing excess)
Step-by-Step Instructions
- 1. First, stop treating your iron like a heating element and start treating it like a precision tool. If you’re using one of those cheap, unbranded sticks from a bargain bin, do yourself a favor and toss it. You need a station with adjustable temperature control. I usually set mine between 330°C and 370°C depending on the solder weight, but the point is you need to be able to dial it in. If you’re working on a delicate SDR module, you don’t want to cook the traces; if you’re tacking together heavy-gauge wire for a field antenna, you need the thermal mass to actually get the job done.
- 2. Clean your tip before you even think about touching a component. I don’t care how shiny it looks; if there is a layer of oxidized carbon on it, you aren’t transferring heat, you’re just fighting physics. Use a brass sponge rather than a wet sponge if you can. Wet sponges cause thermal shock that can micro-crack your heating element over time, and they leave the tip too cold. You want a tip that is bright, shiny, and tinned with a fresh layer of solder before it ever meets the board.
- 3. Now, here is where most people mess up: you don’t just melt solder onto the iron and hope it flows. That’s how you get cold joints that fail the moment you move the rig. You have to heat the joint, not the solder. Touch the tip of the iron so that it makes contact with both the copper pad and the component lead simultaneously. Hold it there for a second or two until the metal components themselves are hot enough to melt the solder on contact.
- 4. Once the pad and the lead are actually hot, feed the solder into the junction, not directly onto the iron tip. If you do it right, the solder will wick into the hole and wrap around the lead via capillary action. It should look like a smooth, concave fillet—kind of like a tiny silver volcano. If it looks like a round, dull bead, you didn’t get enough heat into the pad, and that joint is going to crack the first time you vibrate your radio gear in a backpack.
- 5. Don’t be impatient. I see people pulling the iron away while the solder is still moving, which is a one-way ticket to a cold solder joint. You have to wait for the solder to solidify completely before you move the component or remove the heat. If you move it even a fraction of a millimeter while it’s in that “plastic” phase, the crystalline structure won’t form correctly, and you’ll end up with a high-resistance connection that’s a nightmare to troubleshoot later.
- 6. Finally, give it a quick inspection with a magnifying glass—or your eyes, if you’ve got the patience. A good joint should be bright and shiny. If it looks grey, grainy, or “frosty,” you either overheated it or didn’t provide enough heat to begin with. If you see a bridge where solder is touching two adjacent pads, don’t try to scrape it off with a knife. Use your solder wick to draw the excess away, then re-flow it properly. It’s much easier to do it right the second time than to try and fix a messy board later.
Mastering Solder Wetting and Flow for Real Results
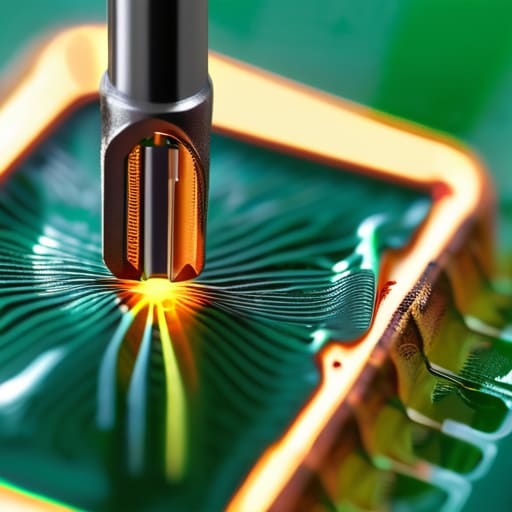
If you’ve followed the steps but your joints still look like dull, grey pebbles instead of shiny, concave ramps, you aren’t actually seeing proper solder wetting and flow. Wetting is the physical phenomenon where the liquid solder actually bonds to the metal surface through capillary action. If it’s just sitting on top like a bead of water on a waxed car, you haven’t achieved a molecular bond. This usually happens because you’re either underheating the pad or your tip is oxidized. I’ve spent too many nights troubleshooting field repairs only to realize the “fix” was just a lack of thermal mass. You have to heat the joint, not just the wire, to ensure the heat travels through the component lead into the pad itself.
Don’t skip your soldering iron tip maintenance either. A blackened, crusty tip is a thermal insulator, and it will lie to you; it might feel hot, but it won’t transfer energy where it needs to go. I keep a brass sponge and some high-quality tip tinner on my bench because a clean tip is the difference between a reliable connection and a nightmare of preventing cold solder joints later on. If the solder doesn’t flow instantly when it hits the junction, pull back, clean the tip, and try again.
Preventing Cold Solder Joints and Other Common Failures
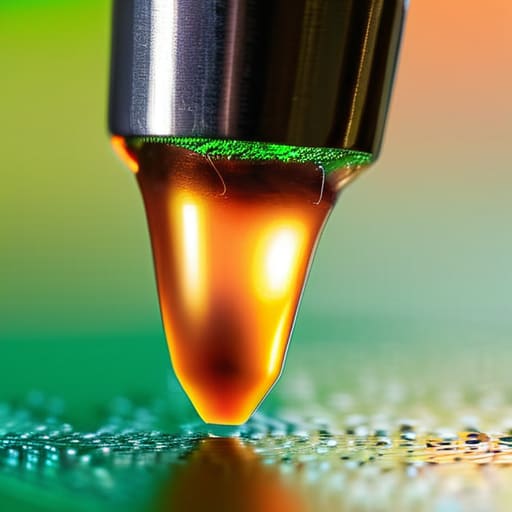
The biggest mistake I see in the workshop isn’t a lack of skill; it’s impatience. You’ll see someone holding the iron to a pad, seeing the solder melt, and pulling away before the heat has actually soaked into the component lead and the copper trace. That’s how you end up preventing cold solder joints in theory but failing in practice. A cold joint might look okay to the naked eye, but it’s structurally brittle and electrically noisy. If the joint looks dull or grainy instead of having that smooth, satin sheen, you didn’t get enough thermal mass into the connection. You didn’t just miss the mark; you created a high-resistance bottleneck that will eventually fail when the gear vibrates or gets warm.
If you find yourself constantly fighting a joint that won’t take, stop blaming the solder and look at your iron. Proper soldering iron tip maintenance is non-negotiable. A blackened, oxidized tip acts like an insulator rather than a conductor; it won’t transfer heat, no matter how high you crank the temperature. I’ve spent more hours than I care to admit cleaning tips with brass wool and re-tinning them just to get a decent flow again. If your tip looks like charcoal, you aren’t soldering; you’re just waving a hot stick around.
Five Ways to Stop Making Messy Joints and Start Making Connections
- Clean your pads like you mean it. I’ve seen people try to solder onto oxidized copper or traces covered in finger oils, and it’s like trying to glue two pieces of ice together. If you aren’t using a bit of isopropyl alcohol or a dedicated flux cleaner before you touch the iron to the board, you’re just fighting physics from the start.
- Don’t treat the solder like it’s the heat source. The iron provides the thermal energy, but the solder is just the filler. If you’re just melting a blob of solder onto the tip of your iron and then “painting” it onto the joint, you’re going to end up with a cold joint every single time. Heat the pad and the component lead simultaneously, then let the solder flow into the gap on its own.
- Use the right flux, not just whatever came in the spool. Most hobbyist solder has a tiny bit of rosin core, but for anything remotely serious—especially when you’re working on older gear or rebuilding a radio’s power stage—you need dedicated flux. It breaks the surface tension and lets the solder actually “wet” the metal instead of just sitting there like a bead of water on a waxed car.
- Watch the clock, not just the temperature. I’ve seen too many beginners hold a hot iron against a delicate PCB trace for thirty seconds because they’re nervous. You aren’t “making sure it’s hot enough”; you’re delaminating the board and cooking the adhesive. If the solder hasn’t flowed within three to five seconds, pull back, let it cool, and rethink your thermal strategy.
- Learn the visual cue of a “bright” joint. A good solder joint should look shiny and concave, like a tiny silver volcano. If it looks dull, grainy, or like a grey lump of clay, it’s a failure. Even if the multimeter says there’s continuity, a dull joint is a high-resistance joint, and in an RF circuit, that’s just a glorified heater that’s going to drift your tuning or fail when the temperature shifts.
The Bottom Line for Your Workbench
Stop chasing the heat; if you aren’t seeing the solder flow like liquid silver across the pad in under two seconds, you aren’t actually soldering, you’re just cooking the flux into a useless crust.
Cleanliness isn’t a suggestion—if your copper looks dull or has a layer of oxidation, no amount of expensive leaded solder is going to save you from a high-resistance joint that fails the first time the gear gets warm.
Trust your eyes over your theory; a good joint should be concave and shiny, and if it looks like a grey, grainy bead of solder, pull the iron away and do it again before you call it finished.
## The Truth About the Joint
If you’re staring at a joint that looks like a dull, grey bead of wax instead of a shiny, concave fillet, stop what you’re doing; you haven’t “finished” the solder, you’ve just dumped a lump of metal on a board that isn’t ready to hold it.
Wren Castellano
Beyond the Solder Joint
At the end of the day, good soldering isn’t about following a recipe from a textbook; it’s about respecting the physics of heat transfer. You’ve learned that if you aren’t managing your temperature or cleaning your pads, you’re just asking for a failure down the line. Remember that a successful joint is defined by proper wetting and a smooth, concave fillet—not just by whether the component stayed attached while you were shaking the board. If you’ve been seeing dull, grainy surfaces or components that look like they’re just sitting on top of the copper rather than being bonded to it, you haven’t mastered the heat yet. Keep your iron clean, keep your flux active, and stop rushing the process just to get to the next step.
There is a specific kind of satisfaction that comes from looking at a finished PCB and knowing every single connection is rock solid. In a world where everything is increasingly disposable and “black-boxed,” there is something deeply grounding about being able to open a device, find a fault, and actually fix it yourself. Whether you are repairing a vintage transceiver or building a custom antenna tuner for your next portable excursion, these skills are what turn you from a consumer into a maker. Don’t get discouraged by the occasional bridged joint or a messy pad; even I still have days where my hands aren’t as steady as they used to be. Just keep measuring, keep practicing, and trust the physics.
Frequently Asked Questions
My iron is set to 350°C but the solder still looks like dull, grainy sand instead of shiny silver; am I using the wrong flux or is my iron just not actually hitting the temperature it says?
If it looks like grainy sand, you’re dealing with a classic case of insufficient heat or oxidized surfaces. At 350°C, you should be seeing flow, but if your iron’s thermocouple is lying to you—and they often do—you’re just sitting there cooking the flux without actually wetting the metal. Try bumping it to 370°C. If it still won’t shine, clean your tip or check your solder; cheap, unfluxed wire is a nightmare.
Is there a point where using lead-free solder becomes more of a headache than it's worth for small, delicate RF components?
If you’re working on high-frequency RF traces or tiny SMD components, yes, lead-free can absolutely be a headache. It requires higher heat and much more aggressive flux to get that reliable wetting I was talking about. For delicate boards where you’re worried about lifting pads or thermal shock, I still reach for 63/37 tin-lead. It flows predictably and stays liquid longer, giving you that crucial window to fix a mistake before the joint freezes.
When I'm working on a tight PCB with components packed close together, how do I stop the solder from bridging without making a mess of the pads?
When you’re dealing with high-density boards, stop trying to “aim” the solder. That’s how you get bridges. Instead, treat the iron and the solder as two separate tools. Use a fine-tipped chisel iron to heat the pad and the lead simultaneously, then feed the solder into the joint, not the iron. If you’re still struggling, grab some tacky flux. It’s not cheating; it’s physics. The flux pulls the molten metal onto the metal, not the gaps between.
