
I remember sitting in my backyard ten years ago, staring at a messy pile of copper wire and feeling like a complete amateur because my signal was barely crawling across the street. I had followed every “rule of thumb” I’d read in old manuals, yet my ground plane was performing like a wet sponge. People will tell you that more wire is always better, but they’re wrong; if you don’t understand the relationship between your antenna height and the return path, you’re just burying expensive copper in a way that does nothing for your efficiency. Learning how to lay out radials isn’t about creating a beautiful geometric pattern for your neighbors to admire; it’s about managing impedance and making sure your ground system actually works with the physics of the earth.
In this guide, I’m going to skip the academic fluff and tell you how I actually do it when I’m setting up a portable station or a permanent backyard rig. We’ll talk about real lengths, effective spacing, and why the conductivity of your soil matters more than the number of wires you throw at it. I’ll show you how to stop guessing and start measuring so you can finally get the signal strength you were promised when you bought that transceiver.
Table of Contents
- Step-by-Step Instructions
- Mastering Antenna Ground Plane Optimization Without the Guesswork
- Radial Wire Gauge Selection Why Thin Wire Might Fail You
- Five Things I’ve Learned the Hard Way About Radial Layouts
- The Bottom Line Before You Head Out to the Field
- ## The Ground is Not a Suggestion
- Final Thoughts Before You Hit the Field
- Frequently Asked Questions
Guide Overview
Tools & Supplies
- Tape measure for determining radius length
- String line or chalk line for drawing arcs
- Compass or improvised pivot tool for precision
- Pencil or marking crayon for layout lines
- Marking paint or chalk for surface visibility
- Stakes or pins to secure the center point
Step-by-Step Instructions
- 1. First, you need to stop thinking about radials as some kind of magical infinite plane and start thinking about them as a way to provide a return path for your signal. If you’re running a vertical, your antenna is only half the equation; the ground is the other half. Before you even pull a spool of wire out of the garage, decide if you’re working with a permanent installation or a portable setup. If you’re on a hill with a wire antenna, you’re likely looking at a different set of physics than if you’re mounting a whip in your backyard.
- 2. Map out your “effective area” before you start laying anything down. I’ve seen people spend three days burying fifty radials in a perfect circle, only to realize their antenna is sitting on a patch of sandy soil with terrible conductivity. If you have a decent amount of space, aim for a radius that is at least one-quarter wavelength of your lowest operating frequency. If you’re working 40 meters, that’s a lot of wire, but if you skimp on the footprint, you’re basically just building a very expensive heater for the dirt.
- 3. Get your wire choice sorted. Don’t bother with anything fancy or shielded; you want bare copper or copper-clad steel. I usually grab a spool of 12 or 14 AWG insulated wire for permanent installs because it’s easier to manage, but if I’m heading out for a weekend of portable ops, I’ll use something thinner just to save my back during the hike. The insulation doesn’t actually change the RF performance much once it’s in the ground, but it’ll keep the wire from snapping when you inevitably trip over it.
- 4. Start from the center and work your way out in a star pattern. Don’t just scatter them like birdseed and hope for the best; if you don’t get the spacing right, you’re just wasting copper and wondering why your SWR is acting up. I like to lay them out at roughly equal angles—think of a clock face—to ensure the ground system is as electrically symmetrical as possible. This helps keep your radiation pattern from tilting or becoming lopsided, which is a nightmare when you’re trying to work a specific DX station.
- 5. When it comes to length, don’t stress about being precise to the millimeter. For a radial system, the length is less about resonance and more about providing a low-impedance path. As long as the wires are significantly longer than a quarter-wavelength of your lowest band, they’ll do their job. I’ve measured systems where the radials were a bit short and they worked just fine, provided the ground wasn’t bone-dry.
- 6. Secure the ends and manage the “mess.” If this is a permanent setup, you’ll want to bury them slightly or use landscape staples to keep them from migrating. If you’re doing this on a portable setup, just stake them down with tent pegs. The biggest mistake I see is people leaving a tangled heap of wire at the base of the antenna; that’s not a ground system, that’s a trip hazard. Keep the connections at the antenna base clean and tight—use a proper radial plate if you can afford one, because a loose connection at the feed point will ruin even the best ground system.
Mastering Antenna Ground Plane Optimization Without the Guesswork
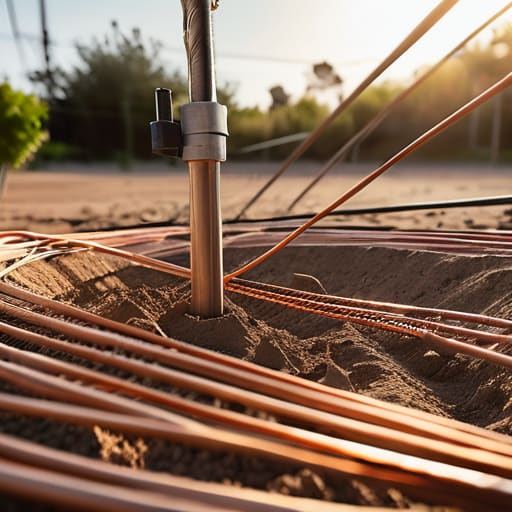
Look, if you’re setting up a vertical in a backyard with dry, sandy soil, you’re fighting an uphill battle regardless of how many wires you throw down. I’ve seen people spend a fortune on high-end rigs only to wonder why their signal is hitting a wall, when the real culprit is a poor counterpoise system setup. If you can’t get your radials deep into the earth, you need to compensate with quantity. I’ve found that adding just three or four more wires—even if they aren’t perfectly spaced—often does more for improving SWR with radials than trying to find the “perfect” mathematical geometry that looks good on a whiteboard but fails in a real field.
Don’t get hung up on radial wire gauge selection either. You don’t need heavy-duty copper cladding to make a difference; a bit of 18-gauge house wire works just fine for most HF setups. The real secret is the connection point. If your connection at the base is corroded or loose, all that copper in the ground is effectively useless. I always tell people: invest more in your connection method than your wire thickness. A solid, clean bond at the antenna base is what actually makes the ground plane work for you.
Radial Wire Gauge Selection Why Thin Wire Might Fail You
I’ve seen it a hundred times: someone spends weeks perfecting their antenna geometry, only to use the thinnest, flimsiest copper wire they could find at the local hardware store for their radials. They think, “It’s just a return path, it doesn’t carry much current,” and they’re dead wrong. While it’s true that the skin effect means high-frequency current travels on the surface, you aren’t just fighting resistance; you’re fighting mechanical reality. If you’re using a thin, lightweight wire for a large counterpoise system setup, the first stiff breeze or heavy dew will turn your ground plane into a tangled mess of wire, shifting your resonant frequency and making your SWR readings look like a heart monitor in a crisis.
When it comes to radial wire gauge selection, I usually tell people to stop overthinking the math and start thinking about durability. If you are installing these on a permanent setup, go with something substantial like 12 or 14 AWG solid copper. If you’re doing a portable setup on a hill, even then, I wouldn’t go lighter than 18 AWG. You want enough mass to handle the physical tension and enough surface area to ensure you aren’t losing precious efficiency to oxidation or poor connections. Don’t skimp on the copper just to save a few bucks; a robust ground plane is the foundation of your entire station.
Five Things I’ve Learned the Hard Way About Radial Layouts
- Stop thinking about length like it’s a suggestion; if you’re working 40 meters, those radials need to be long enough to actually resonate, or you’re just creating a very expensive, very inefficient mess of copper that won’t do a lick of good for your ground plane.
- Don’t just scatter your radials like birdseed and hope for the best; I’ve seen people throw a handful of wires out and wonder why their SWR is jumping every time the wind blows—aim for symmetry, even if it’s just “good enough” symmetry, because an unbalanced ground plane is a recipe for a noisy station.
- If you’re installing these in a lawn, don’t bury them six inches deep thinking it’ll make them “disappear” better—unless you’re working with incredibly conductive soil, you’re just adding a layer of resistance that kills your efficiency; stay shallow or stay above ground if you can.
- Watch your connection points like a hawk; I’ve lost more contacts to a corroded lug at the SO-239 than I ever have to solar flares, so use high-quality connectors and maybe a bit of dielectric grease if you’re actually going to be out in the elements.
- Realize that more isn’t always better once you hit the point of diminishing returns; I once spent an entire weekend adding more wire to a 20-meter ground plane only to find my signal strength didn’t budge—measure your results, not your wire spool.
The Bottom Line Before You Head Out to the Field
Stop treating radials like an afterthought; if you’re running a vertical without a decent ground plane, you aren’t building an antenna, you’re just building a very expensive heater for your soil.
Don’t get caught in the “more is better” trap without a plan—measure your conductivity and your spacing, because throwing a thousand feet of copper at a bad ground won’t fix a fundamental physics problem.
Remember that your results are only as good as your height above ground; even the most perfect radial pattern will struggle if you haven’t accounted for how much of that return current actually has room to breathe.
## The Ground is Not a Suggestion
Stop treating your radials like an afterthought or a way to tidy up the yard; if you don’t treat that ground plane like it’s part of the actual radiator, you’re just building a very expensive heater that won’t talk to anyone but the dirt.
Wren Castellano
Final Thoughts Before You Hit the Field
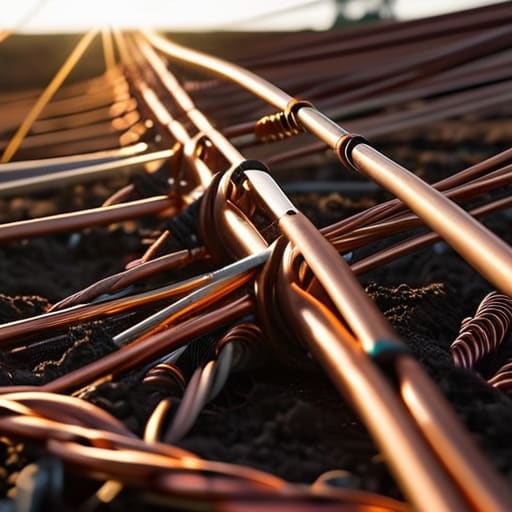
At the end of the day, laying out radials isn’t about following a rigid geometry textbook; it’s about managing the return current effectively. We’ve talked about why you can’t just scatter thin wire like birdseed, why your gauge matters for skin effect, and why the actual conductivity of your ground is the real boss in this equation. If you’ve taken the time to space them properly and ensure they aren’t just dangling uselessly in the air, you’ve already done more than most. Remember, an antenna is only as good as the system it’s part of, and if you neglect the ground plane, you’re essentially trying to build a house on sand. Measure your results, check your SWR under real-world conditions, and don’t be afraid to add a few more wires if the numbers aren’t moving.
There is a specific kind of satisfaction that comes from hearing a weak signal break through the noise, knowing it wasn’t just a lucky bounce off the ionosphere, but a direct result of the work you put into your setup. Radio can feel increasingly automated and “black box” these days, but when you master the physics of your ground plane, you’re reclaiming that connection to the fundamentals. Go out there, get your hands a little dirty, and build something that actually works. The bands are waiting, and now you actually have the foundation to reach them.
Frequently Asked Questions
I've only got enough copper for a dozen radials; is it better to have a few long ones or a bunch of short ones?
If you’re limited on copper, go for length over quantity every single time. A dozen short radials are basically just expensive noise makers; they won’t provide the return path your antenna needs to actually radiate. I’d rather have six radials cut to a proper fraction of the wavelength than twenty that are too short to do anything useful. It’s better to have a few solid, well-placed wires than a handful of useless stubs.
Does it actually matter if I bury the wires a few inches underground, or am I just making my life harder for no reason?
If you’re looking for a massive jump in efficiency, burying them a few inches isn’t going to be your magic bullet. For a standard ground plane, I’ve found that surface-laid radials perform almost identically to buried ones. Honestly, unless you’re trying to stop a lawnmower from shredding your setup or you’re dealing with a high-traffic area, you’re just making your life harder for negligible gain. Keep them on the surface; save your back for the antenna deployment.
If I'm setting up a portable station on a rocky hilltop, can I just use the ground as it is, or am I dead in the water without a proper radial field?
You’re not dead in the water, but you’re definitely working with a handicap. On a rocky hilltop, your “ground” is basically an insulator. Without a conductive soil layer to complete the circuit, your antenna’s efficiency is going to tank. If you can’t sink a proper radial field into the dirt, try laying out a large artificial ground plane using your wire. It won’t be perfect, but it beats relying on granite to do your heavy lifting.
