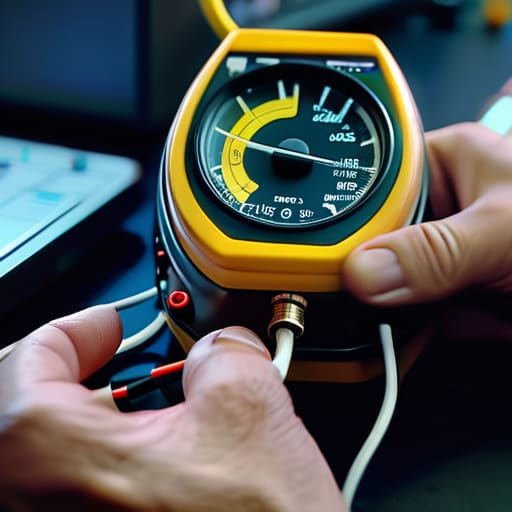
I was halfway up a ridge in the Cascades last October, shivering in a light drizzle and wondering why my signal was nothing but a flatline of noise, when I realized I’d spent three hours blaming the solar cycle for a problem that was actually sitting in my backpack. I had assumed the line was fine because it looked pristine, but a hairline fracture in the dielectric near the connector was eating my power faster than a hungry hiker. Most people think they know how to test coax cable just because they can check for continuity with a cheap multimeter, but that’s a dangerous oversimplification. Continuity only tells you the copper isn’t snapped; it doesn’t tell you if your signal is actually making it to the antenna or leaking into the dirt.
In this guide, I’m going to show you how to move past the guesswork and actually see what’s happening inside that jacket. We aren’t just going to talk theory; I’ll walk you through using a real meter to find the exact spot where your loss is happening so you can stop wasting time on phantom troubleshooting. Whether you’re working a high-gain vertical in your backyard or a wire antenna 50 feet up a tree, you deserve to know that your feedline isn’t lying to you.
Table of Contents
- Step-by-Step Instructions
- Using a Multimeter for Coax to Find the Real Faults
- Signal Loss Troubleshooting Detecting Impedance Mismatch and Attenuation
- Five Things Your Multimeter Won't Tell You
- The Bottom Line Before You Pack Your Gear
- The Truth is in the Trace
- Don't Let a Bad Cable Quiet Your Shack
- Frequently Asked Questions
Guide Overview
Tools & Supplies
- Coaxial Cable Tester (Basic continuity tester)
- Multimeter (To check for shorts or continuity)
- Replacement F-connectors (2-4 pieces)
- Coaxial cable scraps (Small length for testing)
Step-by-Step Instructions
- 1. First, you need to get your gear laid out. You aren’t going to find a leak by staring at the jacket, so grab a decent multimeter—ideally one with a continuity tester—and if you’re lucky enough to have a NanoVNA or a dedicated SWR meter, get those on the bench too. Make sure you have a way to short the center conductor to the shield at one end, because that’s the only way to get a clean reading.
- 2. Start with a basic continuity test to rule out the obvious. Take one end of your coax and strip back a tiny bit of the jacket to expose the braid, then use your meter to ensure the shield is actually continuous from one end to the other. If you get an open circuit here, stop right there; you’ve got a broken conductor somewhere in the run, and no amount of tuning is going to fix a physical break in the copper.
- 3. Now, check for shorts between the center conductor and the shield. This is where most people get tripped up by a crushed cable or a poorly crimped connector. Set your meter to the resistance setting and touch one probe to the center pin and the other to the outer shield. You are looking for infinite resistance; if your meter shows anything close to zero, you’ve got a short, and you’ll need to hunt down where the braid has migrated into the center core.
- 4. If the cable passes the basic continuity and short tests, it’s time to get more technical with an SWR meter or a VNA. Connect one end of the coax to your analyzer and leave the other end open (unconnected). You’re looking for a reading that reflects the characteristic impedance of the cable—usually 50 ohms. If you see a wildly fluctuating reading or a massive spike, you likely have moisture ingress or a dielectric that’s been compromised by a tight bend.
- 5. For the real truth, you need to test the cable under load. Attach your antenna to one end and your rig (or a dummy load if you’re trying to keep the neighbors happy) to the other. I always prefer measuring the return loss if I have the equipment for it. It gives you a much clearer picture of how much energy is actually making it to the antenna versus how much is bouncing back and heating up your transceiver.
- 6. Don’t forget to inspect the connectors themselves with a magnifying glass if you have to. A lot of “bad cable” issues are actually just oxidized center pins or a shield that wasn’t tightened down enough to make a solid contact. If the cable looks fine but the readings are erratic, spend ten minutes re-terminating the ends; it’s a tedious job, but it’s a lot faster than replacing twenty feet of RG-8.
Using a Multimeter for Coax to Find the Real Faults
Look, a multimeter isn’t a Vector Network Analyzer, and it won’t tell you your exact SWR or the precise point of a frequency-dependent impedance mismatch, but it’s the fastest way to separate a catastrophic failure from a minor nuisance. When I’m setting up a portable station on a ridge, I don’t have time to lug a full lab kit up the hill; I just need to know if my center conductor is severed or if the shield has finally succumbed to oxidation. Start by checking for continuity between the center pin and the shield at both ends. If you see any reading other than a clean, low-resistance path to ground on the shield, you’ve likely got a short.
If the continuity looks okay, switch to resistance mode to check for a break. A high-resistance reading on the center conductor—even if it isn’t “infinite”—is a massive red flag for signal loss troubleshooting. It usually means you have a hairline fracture in the copper or a poorly crimped connector that’s going to cause massive heat buildup once you actually key up. Don’t just settle for “it’s not broken”; if the resistance is creeping up, that cable is already failing you.
Signal Loss Troubleshooting Detecting Impedance Mismatch and Attenuation
If your multimeter tells you the center conductor isn’t broken and the shield isn’t shorted, don’t start celebrating just yet. A cable can pass a basic continuity test and still be absolute garbage when you actually try to push a signal through it. This is where most people get stuck—they assume a “good” reading on a cheap tester means their feedline is healthy. In reality, you might be dealing with coax cable attenuation caused by moisture ingress or a crushed dielectric that you can’t see from the shack. If your signal is dropping off more than it should, you aren’t looking for a break; you’re looking for a degradation in quality.
The real headache, though, is impedance mismatch detection. If you have a connector that isn’t seated perfectly or a cable that’s been stepped on too many times, you’ll create a point where the energy doesn’t just travel down the line—it bounces back. Even if the cable is “continuous,” that mismatch creates standing waves that can cook your finals if you aren’t careful. I’ve spent too many evenings chasing phantom noise only to find a slightly oxidized N-type connector that was turning my feedline into a giant, inefficient radiator.
Five Things Your Multimeter Won't Tell You
- Stop ignoring the physical inspection; I’ve seen more signal loss from a crushed cable under a heavy foot or a sharp bend in a tight corner than I ever have from actual copper fatigue. If the jacket looks stressed or white, that cable is already losing more energy than it should.
- Check your connectors twice, not once. A multimeter might show continuity, but it won’t show you a tiny bit of oxidation or a loose center conductor that causes a massive impedance spike once you actually start pushing RF through it.
- Mind your moisture ingress. If you’re testing a line that’s been sitting in a damp garden or near a salt-spray coastline, a “good” continuity test is a lie; water inside the dielectric changes the velocity factor and turns your coax into a very expensive, very inefficient heater.
- Don’t forget the ground loop trap. If you’re testing a cable that connects two pieces of gear with different ground potentials, you might see a reading that looks like a fault, but it’s actually just current flowing where it shouldn’t. Always isolate your test points.
- Remember that a cable can pass a DC test and still fail an AC test. If you only check for shorts and continuity with a basic meter, you’re only seeing half the picture; you need to realize that high-frequency attenuation is a different beast entirely, and a “clean” DC reading doesn’t guarantee a clean signal at 144 MHz.
The Bottom Line Before You Pack Your Gear
A multimeter is great for finding a dead center conductor or a short, but it won’t tell you if your dielectric is degrading or if your loss is spiking at higher frequencies; for that, you actually need to see the SWR.
Don’t assume a cable is “fine” just because it passes a continuity test; a cable can look perfect on a meter and still act like a giant heater, soaking up your precious signal before it ever reaches the antenna.
Always check your connections with a physical inspection first—half the “bad cable” issues I’ve seen in the field were just oxidized connectors or a loose shield that a meter couldn’t properly characterize.
The Truth is in the Trace
Stop looking at the jacket and start looking at the readings; a cable can look brand new and still be a glorified heater if there’s moisture in the dielectric or a crushed center conductor somewhere you can’t see.
Don't Let a Bad Cable Quiet Your Shack
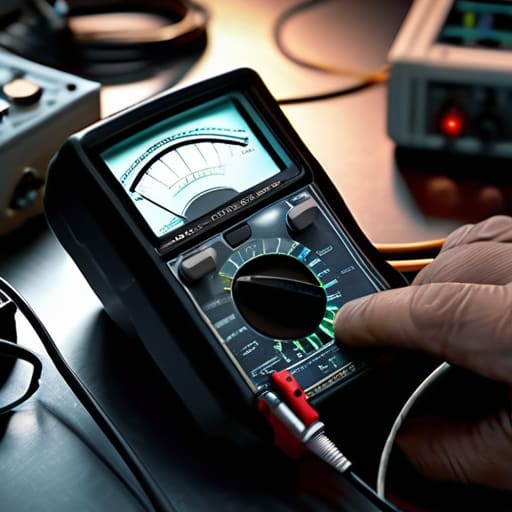
At the end of the day, testing your coax isn’t about following a checklist to satisfy a manual; it’s about eliminating the variables that keep you from actually making contacts. We’ve looked at how a simple multimeter can spot a dead center conductor and how measuring signal loss helps you differentiate between a genuine atmospheric fade and a dying dielectric inside your cable. Remember, if your SWR is jumping around like a caffeinated squirrel, don’t immediately blame the solar cycle or your antenna’s height. Check your connectors, verify your impedance, and make sure your shielding hasn’t been compromised by a bad weather seal. If you don’t measure the physical layer first, you’re just chasing ghosts in the machine.
There is a certain satisfaction in knowing exactly why your station is performing the way it is. When you stop guessing and start using real data, the hobby changes from a series of frustrations into a series of solvable engineering problems. Whether you are setting up a temporary wire on a ridge or a permanent station in your basement, take the time to do the grunt work now. It might feel tedious, but there is nothing quite like the feeling of a clean, low-loss signal path when the bands finally open up. Trust your tools, trust your measurements, and then get out there and see who is listening.
Frequently Asked Questions
My multimeter says the cable is fine, but my SWR is still through the roof—what am I missing?
If your multimeter says continuity is fine but your SWR is screaming, you’re likely looking at a high-frequency problem that a DC test can’t see. A multimeter only checks if the copper is connected; it doesn’t care about the dielectric or the skin effect. You probably have moisture ingress in the jacket or a crushed section that’s changed the characteristic impedance. To a multimeter, it’s a wire; to your radio, it’s a mirror.
Is it worth spending the money on a dedicated NanoVNA for testing, or is my cheap meter enough for home use?
Look, if you’re just checking if a center conductor is snapped, keep the multimeter. It’s fine for continuity. But if you want to know why your SWR is spiking at 28 MHz, a meter won’t tell you. I spent a weekend chasing a phantom reflection last month that a multimeter swore was “fine.” A NanoVNA shows you the actual Smith chart; it tells you if you’ve got a moisture issue or a bad crimp. It’s worth every penny.
If I find a tiny nick in the outer jacket, can I actually patch it, or should I just cut the whole run and start over?
If it’s just a surface scuff on the jacket, don’t sweat it. Slap some self-amalgamating tape or even a bit of liquid electrical tape over it to keep the moisture out. But if that nick actually bites into the braid or the dielectric, stop right there. A compromised braid ruins your shielding, and once moisture wicks into the foam, your attenuation numbers will go to hell. In that case, cut it and start fresh.
