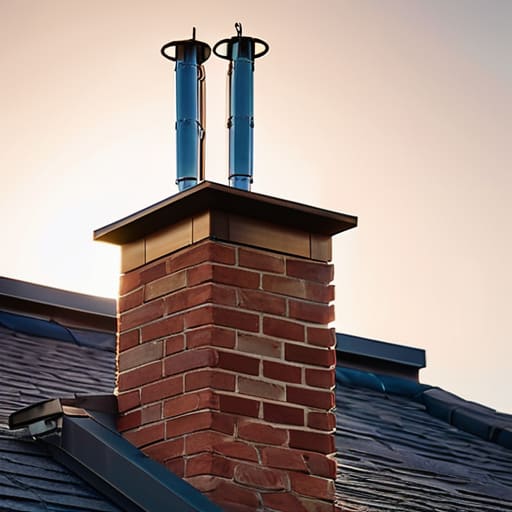
I remember standing on a ladder ten years ago, shivering in a November drizzle, staring at a pile of heavy-duty masonry bolts and wondering why my SWR was jumping like a caffeinated rabbit. I had followed the “standard” advice from a forum post written in the late nineties, but I hadn’t accounted for the way the brickwork actually vibrated under the wind load. Most people think learning how to mount an antenna on a chimney is just about drilling holes and tightening clamps, but if you don’t respect the structural integrity of that masonry—and the grounding requirements that come with it—you aren’t building a station, you’re building a lightning rod for trouble.
In this guide, I’m skipping the theoretical fluff and giving you the actual mechanics of a stable, high-performance mount. I’ll walk you through selecting the right anchors so you don’t crack your flue, how to manage the coaxial run without creating a drip loop nightmare, and most importantly, how to ensure your antenna stays at the optimal height above ground to actually make those DX contacts. No marketing hype, just the measurements and methods that keep my gear up and my signal clear.
Table of Contents
- Step-by-Step Instructions
- Chimney Mounting Hardware Requirements That Actually Hold Up
- Preventing Chimney Damage During Installation to Save Your Roof
- Five Things I’ve Learned the Hard Way (So You Don't Have To)
- The Bottom Line Before You Climb
- The Reality of the Rig
- Final Thoughts Before You Climb
- Frequently Asked Questions
Guide Overview
Tools & Supplies
- Ladder [Sturdy extension ladder for height access]
- Drill [With masonry bits for brick or wood bits for wood]
- Wrench/Socket Set [For tightening bolts and clamps]
- Level [To ensure the antenna is straight]
- Hammer [For driving masonry nails or anchors]
- Antenna Mount [Chimney strap or standoff bracket]
- Masonry Anchors [Heavy-duty anchors for brick/stone]
- Stainless Steel Bolts [Corrosion resistant hardware]
- Coaxial Cable [Length required to reach indoors]
- Weatherproofing Sealant [Silicone for entry points]
Step-by-Step Instructions
- 1. Before you even touch the roof, you need to inspect the masonry for any signs of crumbling mortar or loose bricks. If the chimney is already shedding flakes of brick every time it rains, it’s not going to hold a mast, and I don’t care how good your antenna design is—if the foundation fails, the whole rig goes down. If the mortar looks solid, grab a hammer and tap it; a healthy, solid thud is what you’re looking for, not a hollow ring.
- 2. Pick your mounting method based on the chimney’s actual construction, but don’t go overboard with heavy-duty bolts if you don’t have to. For most standard brick chimneys, a heavy-duty chimney strap or a specialized mount that wraps around the structure is your best bet because it distributes the load without requiring you to drill deep into the brickwork. If you absolutely must drill, use a masonry bit and ensure you are hitting the solid brick, not just a pocket of old, sandy mortar.
- 3. When you’re setting your height, remember my rule: the height above ground is everything. Aim to get your radiator as high as the chimney allows, but keep in mind that a chimney is a massive hunk of stone and metal that will reflect your signal in ways you might not expect. I’ve found that mounting the mast at least two feet above the chimney cap helps mitigate some of that near-field interference, though you’ll still want to check your SWR once the whole thing is live.
- 4. Secure your mast using stainless steel hardware—don’t use cheap zinc-plated stuff that’s going to rust into a single lump after one winter. Use heavy-duty hose clamps or specialized mast clamps, and if you’re mounting a long whip or a heavy Yagi, add a guy wire if the chimney structure allows for it. I’ve seen too many people rely solely on the strength of the mounting bracket, only to have a seasonal gale turn their antenna into a very expensive lawn dart.
- 5. Run your coax down the side of the chimney, but for heaven’s sake, don’t let it dangle. Use UV-rated cable clips or even some heavy-duty zip ties to secure it every eighteen inches or so. You want the cable to follow the contour of the chimney as closely as possible to prevent it from acting like a sail in the wind, which can actually vibrate your mast and cause your signal to fluctuate wildly during a session.
- 6. Once the hardware is tight and the cable is routed, it’s time for the moment of truth: the SWR check. Don’t just trust the reading on your radio’s screen; if you have a dedicated antenna analyzer, use it. I’ve had rigs tell me everything was fine, only to find out the impedance was swinging like a pendulum because the mast was slightly touching the chimney’s metal flashing. Adjust, tighten, and re-measure until the numbers actually make sense.
Chimney Mounting Hardware Requirements That Actually Hold Up
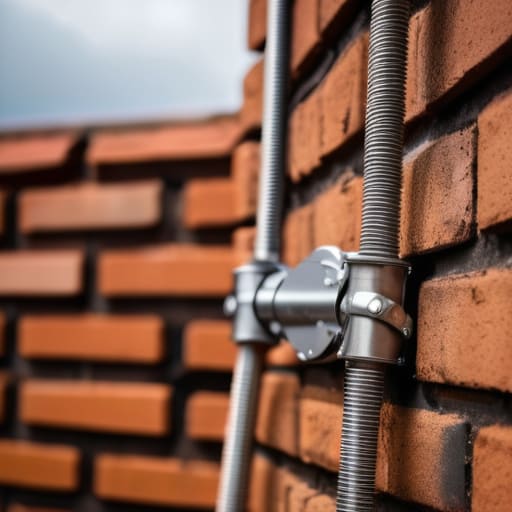
Look, you can buy the cheapest stainless steel clamps you find on a generic auction site, but if you’re planning on mounting anything heavier than a tiny whip, you’re asking for a headache. When I look at chimney mounting hardware requirements, I’m not just looking at whether the metal is shiny; I’m looking at the gauge and the grade of the bolts. If you’re using a heavy dipole or a heavy-duty mast, you need something that won’t fatigue after three seasons of thermal expansion and contraction. I once saw a guy use standard zinc-plated hardware on a brick stack; two years later, the rust had bled into the masonry and the whole assembly was wobbly. Use high-quality, 304 or 316 stainless steel. It’s a bit more of an investment upfront, but it’s the only way to ensure you aren’t climbing back up there in a thunderstorm to fix a collapsed rig.
Another thing people overlook is how the hardware interacts with the structure itself. You have to be obsessive about preventing chimney damage during installation by using rubberized spacers or specialized standoff mounts. You never want metal-on-brick contact that can vibrate or cause micro-fractures in the mortar. While you’re at it, don’t ignore the cable management. If you don’t use proper UV-rated clips for securing coaxial cable to roof edges, the wind will eventually whip that cable against the chimney, fraying the jacket and letting moisture seep into your feedline. A clean, rigid setup isn’t just about aesthetics; it’s about making sure your signal stays stable when the weather gets ugly.
Preventing Chimney Damage During Installation to Save Your Roof
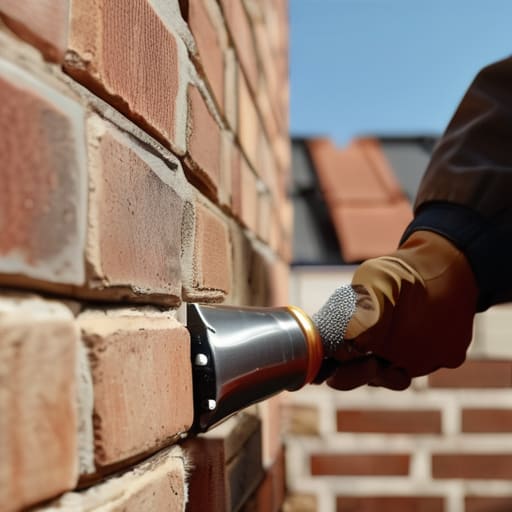
Look, I’ve seen too many people treat a chimney like a glorified fence post, and it usually ends in a very expensive call to a roofing contractor. The biggest mistake you can make is ignoring the flashing. If you’re drilling through masonry or near the mortar line, you aren’t just installing an antenna; you’re creating a potential highway for rainwater to enter your living room. I always tell people that preventing chimney damage during installation starts with a high-quality silicone sealant and a clear understanding of your masonry’s condition. If that mortar is already crumbling, don’t go forcing a heavy mast into it—you’ll just turn a small crack into a structural headache.
Once the hardware is set, pay attention to how you’re managing the lines. I’ve seen rigs go down because someone didn’t realize that securing coaxial cable to roof surfaces requires more than just a few pieces of electrical tape. Use UV-rated clips and ensure there’s a proper drip loop before the cable enters the house. If you don’t manage the tension and the water runoff, the wind will eventually vibrate your mount enough to loosen the seal, and that’s when the leaks start.
Five Things I’ve Learned the Hard Way (So You Don't Have To)
- Watch your ground clearance. I can’t stress this enough: if you mount a vertical dipole right against the chimney stack, the proximity of the masonry is going to mess with your radiation pattern and your SWR. I ran a test on a 40m dipole at about 5 meters up, and the moment I moved it just two feet closer to the brickwork, my signal dropped significantly on the lower bands. Give it some breathing room.
- Don’t trust a single point of contact. If you’re mounting a heavy beam or even a decent sized Yagi, don’t just rely on one heavy-duty bracket. I’ve seen mounts fail because the wind load was distributed unevenly, turning the bracket into a lever that tries to pry the masonry apart. Use a secondary support or a guy-wire system if the wind in your area isn’t a suggestion, but a rule.
- Check your coaxial shielding before you climb back down. It’s easy to get the mount secure and think you’re done, but if you haven’t accounted for the way the cable drapes over the chimney, you might be creating a tiny, unintentional radiator. I once spent an entire afternoon chasing a high SWR only to realize my coax was coiled too tightly near the metal flashing of the chimney.
- Respect the flashing. If you have to drill into anything near the chimney cap or the flashing, you are playing with fire—literally and figuratively. If you don’t use high-grade silicone and ensure the seal is perfect, you aren’t just installing an antenna; you’re installing a leak. I’ve seen too many “quick” installs end with a homeowner calling me because their living room ceiling is damp.
- Test it during a real weather event, not just a sunny afternoon. A mount might look steady when there’s a light breeze, but I don’t trust any rig until I’ve seen it hold up during a decent gust. If you can, monitor your signal strength while the wind is picking up; if your SWR starts jumping every time the wind hits 15 knots, your mount is flexing, and you need to tighten it up before it becomes a projectile.
The Bottom Line Before You Climb
Don’t skimp on the mounting hardware just to save twenty bucks; if you aren’t using stainless steel and heavy-duty masonry anchors, the vibration from the wind will eventually rattle your setup right off the brick.
Height is everything, but remember that every inch you gain on that chimney changes your radiation pattern and ground plane interaction—measure your clearance above the roofline before you tighten the first bolt.
Protect your home first and your signal second; if you haven’t properly sealed your penetrations with high-grade flashing and silicone, you aren’t building a radio station, you’re building a funnel for the next rainstorm.
The Reality of the Rig
“A chimney isn’t just a high point; it’s a structural liability if you treat it like a simple pole. I’ve seen too many people skip the proper non-penetrating mounts or use cheap, thin-walled clamps, only to watch their antenna tilt five degrees in a gale and ruin their SWR. If you aren’t anchoring that mount to account for both the wind load and the thermal expansion of the masonry, you aren’t installing an antenna—you’re just setting a trap for your roof.”
Wren Castellano
Final Thoughts Before You Climb
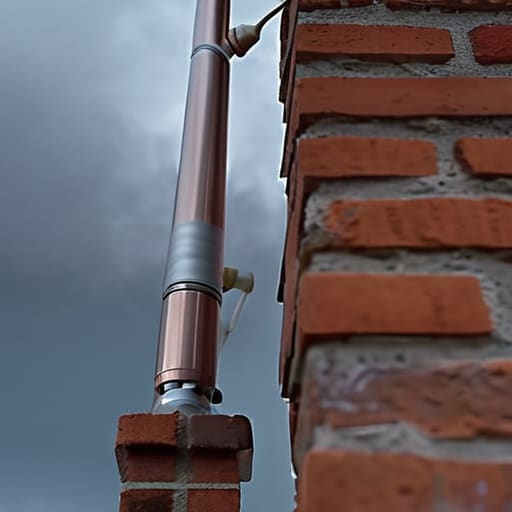
At the end of the day, mounting an antenna on a chimney isn’t just about getting a wire up in the air; it’s about the intersection of structural integrity and RF performance. You’ve picked the right hardware, you’ve ensured you aren’t compromising the masonry, and you’ve accounted for the wind load that’s going to hit that mast during the first autumn gale. Just remember: if you’ve skipped the heavy-duty flashing or ignored the importance of a solid ground connection to mitigate any potential induction, you aren’t finished. A chimney is a great elevated platform, but it’s also a massive lightning rod if you don’t treat the installation with the respect a permanent structure deserves.
Once the ladder is back in the truck and you’ve finally sat down with a coffee, take a moment to actually test the results. There is a specific kind of satisfaction in hearing a weak signal pull through because you took the extra twenty minutes to get the mounting height exactly right. Don’t let the gear do the work for you—understand how your setup is interacting with the environment. Radio is a game of physics and patience, and when you finally hear that first clear contact from a setup you built with your own hands, you’ll know it wasn’t just luck. It was the math, the measurement, and the work.
Frequently Asked Questions
How much height do I actually need to get the antenna off the roofline to stop the house from soaking up all my signal?
Look, I’ve seen too many people treat the roofline like a baseline, but it’s actually a giant sponge for your signal. If you just mount it right at the edge, your house is going to soak up your pattern like a dry sponge in a puddle. I generally aim for at least 10 to 15 feet of clearance above the highest ridge. Any less and you’re just fighting physics; any more and you’re fighting the wind.
If I’m mounting a heavy beam antenna, is a standard chimney mount enough, or am I going to need a dedicated guyed mast?
If you’re talking about a heavy beam, the short answer is: no, a standard chimney mount won’t cut it. I’ve seen people try to leverage a rotating Yagi off a simple bracket, and it’s a recipe for a cracked flue or a very expensive trip to the hardware store. A beam creates significant torque and wind load; unless that chimney is reinforced masonry, you need a dedicated mast with guy wires anchored to something stable.
What’s the best way to handle grounding so I don't turn my chimney into a lightning rod for the whole neighborhood?
Look, you aren’t just mounting an antenna; you’re attaching a conductor to the highest point of your house. Don’t just run a coax line down and hope for the best. You need a dedicated grounding system that ties your antenna mast to a proper ground rod, separate from your house’s electrical ground if possible. Use a lightning arrestor on the coax before it enters the building. If you skip this, you aren’t just risking your rig—you’re risking the whole structure.
