I’ve lost count of how many times I’ve seen a “beginner’s guide” to SOTA that basically suggests you just buy the most expensive, lightweight carbon-fiber tripod and a high-end SDR and call it a day. It’s nonsense. If you think a $800 radio is going to compensate for the fact that you’ve deployed a dipole three feet above a dense canopy of pine trees, you aren’t learning how to do a summit activation; you’re just practicing how to spend money. I learned that the hard way back in ’98, shivering on a ridge in the Cascades, staring at a perfectly tuned antenna that had absolutely zero signal because I hadn’t accounted for the ground plane or the actual height above the treeline.
In this post, I’m not going to sell you on some shiny new piece of gear that’s mostly marketing fluff. Instead, I’m going to give you the actual, unvarnished mechanics of a successful activation. We’re going to talk about real-world variables: solar flux, antenna geometry, and why your vertical height matters more than your gear list. I’ll tell you what actually works when you’re tired, cold, and fighting a high S-meter, and I’ll tell you when a contact was just a lucky break from a bouncing ionosphere.
Table of Contents
- The Essential Summit Equipment List Measured for Weight and Performance
- Mastering Sota Protocol Steps Without Wasting Precious Battery Life
- Five Things I Learned the Hard Way (So You Don't Have To)
- The Reality Check: What Actually Matters When You're at the Top
- The Reality of the High Ground
- Getting Out of the Shack and Onto the Hill
- Frequently Asked Questions
The Essential Summit Equipment List Measured for Weight and Performance
When you’re staring at a steep incline, every gram feels like a kilogram. I’ve learned the hard way that a “complete” kit is often just a heavy way to fail. My essential summit equipment list starts with the radio, but it doesn’t end with the rig. I use a lightweight QRP transceiver—nothing fancy, just something that handles the voltage swings well—paired with a high-efficiency antenna. If you’re lugging a heavy HF rig up a ridge just to find out your battery can’t sustain the current under load, you’ve wasted your climb. I always prioritize a high-quality, lightweight tripod or a set of telescopic poles; if your antenna isn’t at least three meters above the ground and clear of the immediate brush, you’re just wasting precious battery life fighting local near-field losses.
For the rest, think in terms of redundancy rather than variety. A solid portable summit setup guide should include a reliable power source—lithium iron phosphate is my go-to for the weight-to-capacity ratio—and a dedicated SWR meter. Don’t rely on the built-in meter of a cheap rig; you need to know exactly what your feedline is doing once you’ve deployed that wire in a gusty treeline.
Mastering Sota Protocol Steps Without Wasting Precious Battery Life
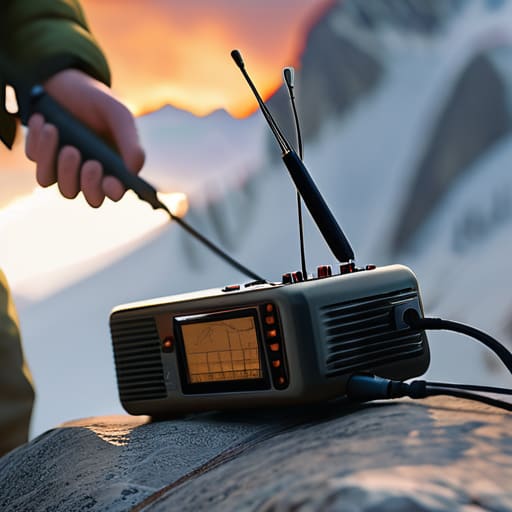
When you’re standing on a ridge with the wind whipping through your jacket, the last thing you want to do is fumble through a checklist while your transceiver drains its lifeblood. I’ve seen too many folks lose their entire window of opportunity because they spent twenty minutes hunting for a specific cable or struggling with a messy setup. To get through the SOTA protocol steps efficiently, you need to treat your deployment like a pre-planned flight check. I don’t just wing it; I have a sequence. I deploy the antenna first, verify the ground plane, and only then do I power up the rig. If you’re powering on your radio before your antenna is actually deployed and tuned, you’re just wasting current and potentially risking a reflected power issue that your battery doesn’t need to handle.
Efficiency is about minimizing “on-time” for high-draw components. I keep my radio in standby or completely off until I am ready to work, and I use a dedicated power distribution block to avoid those tiny, parasitic draws from unnecessary peripherals. Following a disciplined portable summit setup guide isn’t about being a stickler for rules; it’s about managing your energy budget so you aren’t packing up in the dark because you ran out of juice. Every minute your screen is at full brightness or your receiver is hunting through noise is a minute stolen from your actual contacts.
Five Things I Learned the Hard Way (So You Don't Have To)

- Stop obsessing over the perfect wire design and start looking at your clearance. I’ve seen people spend hours calculating a perfect dipole only to hang it six feet off the ground in a thicket of rhododendrons. If your antenna isn’t at least 10 meters above the immediate ground level—and ideally clear of that treeline—your gain calculations are just math exercises. Get the height, or don’t bother.
- Test your coax on the kitchen table before you pack it. I don’t care if the manufacturer says it’s “low loss”; if you have a microphonic cable or a connector that’s going to fail the moment it hits 30 degrees Celsius, you’re going to find out when you’re shivering on a ridge at 2,000 feet. Check your SWR at home, check it again when you get to the trailhead, and if it’s drifting, find out why before you’re too tired to troubleshoot.
- Treat your battery capacity like a finite resource, not a suggestion. I stopped looking at “milliamp hours” as a theoretical number and started looking at it as “minutes of operating time.” If you’re running a high-power SDR or a heavy rig, bring a power bank that actually delivers the voltage you need. There is nothing more demoralizing than having a perfect window on 20 meters and watching your voltage sag right when a DX station calls you.
- Learn to read the sky, not just your waterfall. If you’re sitting there staring at a signal that isn’t moving, check the solar flux index. Sometimes the ionosphere just isn’t interested in talking to you that day, and no amount of tweaking your tuner is going to fix a closed band. Recognize when the conditions are working against you so you can save your energy for a better window.
- Pack for the hike, not just the radio. I have a rule: the walk has to be longer than the operating session. If you’re so weighed down by “essential” gear that you’re too exhausted to actually set up your station and listen, you’ve failed the mission. If you can’t carry it comfortably for three miles of uneven terrain, it’s not part of your kit; it’s just extra weight that’s going to make you regret your life choices halfway up.
The Reality Check: What Actually Matters When You're at the Top
Stop obsessing over the theoretical gain on your antenna’s datasheet; if you haven’t accounted for the actual height above the treeline and the local ground conductivity, your signal report won’t reflect the math in the brochure.
Battery life isn’t just about capacity; it’s about thermal management and efficiency, so test your rig’s current draw in real-world temperature swings before you commit to a five-hour hike.
Success is often a coin toss between your prep and the ionosphere; if the solar flux index is tanking, no amount of expensive gear will save a mediocre contact, so learn to read the sky as well as you read your SWR meter.
The Reality of the High Ground
Everyone talks about the view from the summit, but if you’re standing in a depression or your dipole is tangled in a cedar branch three feet off the ground, the view doesn’t matter—your SWR does. A summit activation isn’t a victory lap; it’s a calculated trade-off between the weight in your pack and the actual height of your radiator above the terrain.
Wren Castellano
Getting Out of the Shack and Onto the Hill
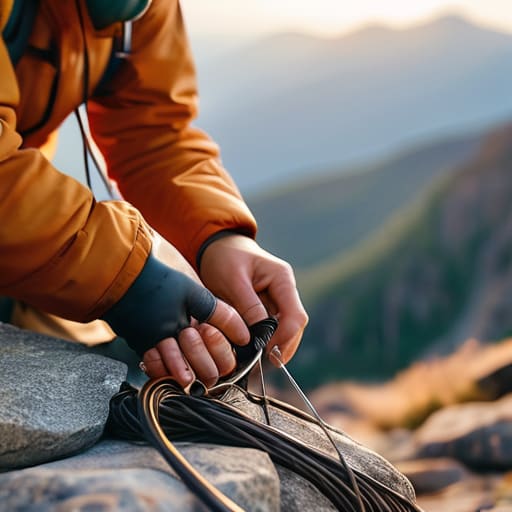
At the end of the day, a successful summit activation isn’t about having the most expensive SDR or the flashiest carbon-fiber tripod; it’s about the math of your setup. You need to balance your weight budget against your antenna’s actual performance, ensuring that your vertical or dipole is at a meaningful height above the ground to actually clear the local terrain. Remember that every gram you carry up that trail is a tax on your energy, so choose gear that you have actually tested in the field, not just gear that looks good in a catalog. If you’ve planned your power consumption, verified your antenna height, and respected the SOTA protocols, you aren’t just guessing anymore—you’re operating with intent.
There will be days when you reach the summit, deploy everything perfectly, and still hear nothing but the static of a quiet ionosphere. Don’t let that discourage you. Radio is a game of variables, and sometimes the atmosphere just isn’t in the mood to cooperate. But when that first weak signal finally pulls through the noise, and you realize you’ve made a contact from a patch of granite three thousand feet up, you’ll remember why we do this. It’s about that connection between two points that shouldn’t be talking, but are. So, pack your kit, check your SFI, and get out there.
Frequently Asked Questions
I have a great wire antenna, but if I'm stuck on a summit with a dense treeline, does the height above the canopy actually matter more than the antenna's resonance?
It matters more. You can have a perfectly resonant dipole tuned to 14.150 MHz, but if you’re burying it in a wet spruce canopy, you aren’t an operator; you’re just a heating element for the trees. The dielectric losses from those branches will swallow your signal before it even leaves the hill. If you can’t get that wire at least three meters above the treeline, your SWR reading is lying to you about your actual performance.
How do I know if my low-power rig is actually underperforming, or if the ionosphere just isn't cooperating with my specific location?
Look, there’s a big difference between a bad link and a bad rig. If your SWR is stable and your noise floor isn’t climbing every time you key up, your hardware is likely fine. Check the solar flux index and the MUF; if the ionosphere is acting like a brick wall, even a hundred watts won’t help. But if you’re seeing high local noise while sitting on a granite peak, that’s your antenna or your ground plane, not the sun.
Is it worth carrying a dedicated SWR meter and a field analyzer, or am I just adding unnecessary weight to my pack?
Look, if you’re only hiking for the view, leave them at home. But if you’re serious about making contacts, a dedicated NanoVNA or a decent field analyzer is worth every extra ounce. I’ve spent too many summits staring at a transceiver screen, guessing why my SWR is spiking, only to realize my antenna is three feet too low to the ground. A meter tells you if it’s working; an analyzer tells you why it isn’t.
