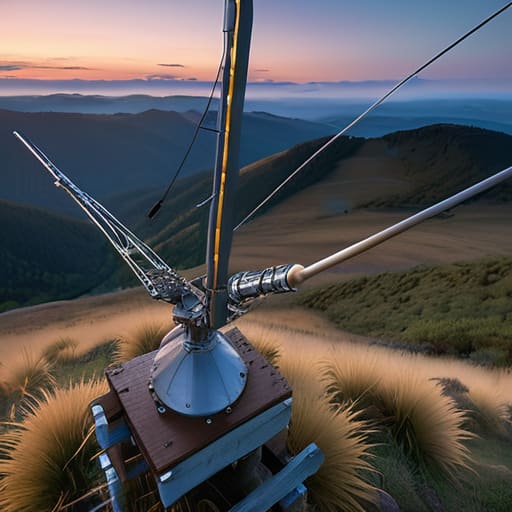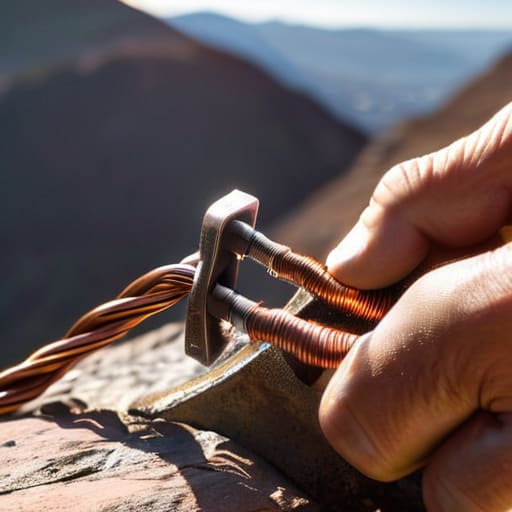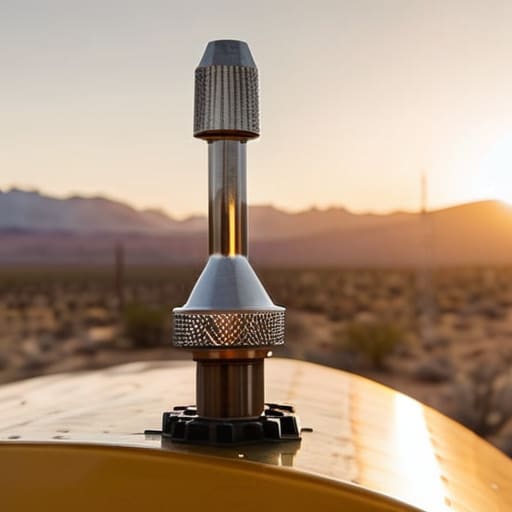
I was standing on a ridge in the Cascades last October, shivering in a damp wind, staring at a piece of gear that cost more than my first car. I had just spent forty minutes trying to tune a high-end, motorized setup, only to realize my SWR was jumping like a caffeinated rabbit every time a cloud drifted by. It’s the great marketing lie of our hobby: that if you throw enough money at a “tunable” solution, you can bypass the physics of a well-placed wire. People keep asking me, “what is a screwdriver antenna really capable of?” and the answer is usually far less magical than the glossy brochures suggest. Most of them are just mechanical compromises wrapped in expensive aluminum.
I’m not here to sell you on the dream of effortless multi-band operation. If you want a lecture on theoretical gain, go find a textbook; if you want to know how these things actually behave when you’re five miles from the nearest power outlet, stay here. I’m going to tell you exactly where these antennas fail, why height above ground will always be your most important variable, and when you should stop chasing a signal and just go home.
Table of Contents
- The Reality of Electrically Short Antenna Theory
- Compact Mobile Radio Antennas vs Real Performance
- Five Ways to Keep Your Screwdriver From Becoming a Paperweight
- The Bottom Line: When to Use One and When to Walk Away
- The Trade-off You Can't Ignore
- The Bottom Line on Screwdrivers
- Frequently Asked Questions
The Reality of Electrically Short Antenna Theory
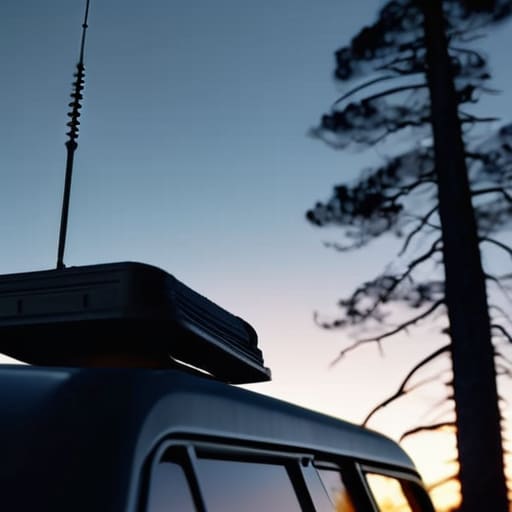
Here is the reality of the physics involved: a screwdriver antenna is, by definition, an electrically short antenna. In a perfect world, an antenna is a resonant length of wire—something that “fits” the wavelength of the frequency you’re using. But when you’re operating out of a vehicle or a cramped campsite, you don’t have the luxury of a 40-meter dipole stretching across your clearing. Instead, you’re working with a radiator that is significantly shorter than the wavelength it’s trying to transmit.
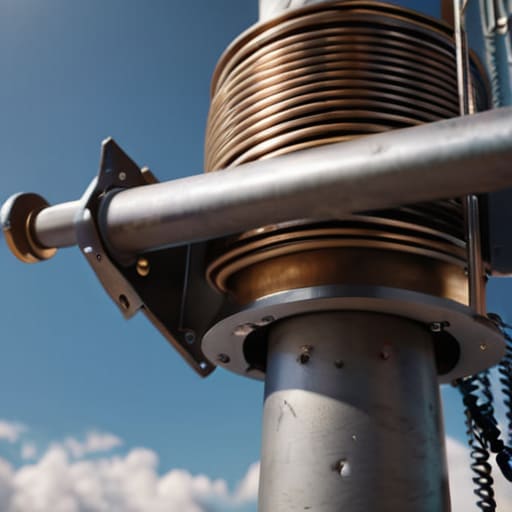
This creates a massive headache for antenna impedance matching. Because the antenna is physically too small, it presents an incredibly low capacitive reactance and a very low radiation resistance to your rig. To get any actual power out of the coax and into the air, you have to use a loading coil to cancel out that reactance. You aren’t actually “tuning” the antenna to be efficient; you are essentially tricking the radio into seeing a load it can handle. It works, but you pay for that convenience with a much lower efficiency compared to a full-sized wire.
Compact Mobile Radio Antennas vs Real Performance
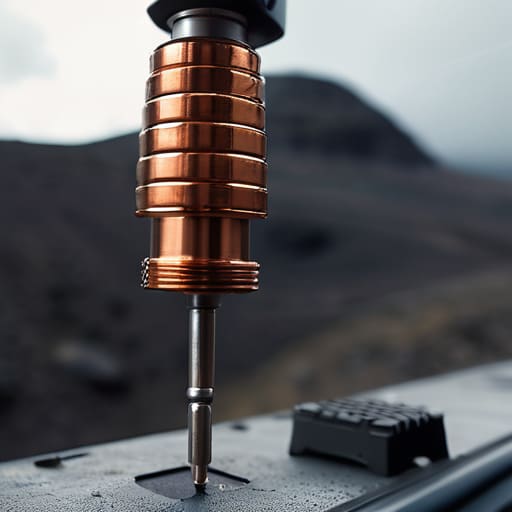
When you look at the spec sheets for most compact mobile radio antennas, they promise the world: multi-band operation, easy installation, and a footprint that fits in a glovebox. But there is a massive gap between a manufacturer’s lab test and a real-world deployment on a cluttered vehicle roof or a rocky hillside. Most of these designs rely heavily on high-Q loading coils to force a tiny piece of metal to behave like a much larger radiator. In practice, this means you aren’t just fighting the physics of the wavelength; you’re fighting the efficiency losses inherent in those coils.
If you are choosing between a magnetic loop vs screwdriver antenna for a portable setup, you’ll find that while the loop is much more efficient, it’s a nightmare to tune on the fly. The screwdriver is “easier,” but you have to accept the trade-off. I’ve spent too many afternoons watching a meter struggle with antennas impedance matching because the ground plane was nothing more than a patch of dry sand. If you don’t have a solid radial system or a decent vehicle body to act as a counterpoise, those compact designs will spend more time reflecting power than radiating it.
Five Ways to Keep Your Screwdriver From Becoming a Paperweight
- Stop ignoring your ground plane. A screwdriver antenna is an electrically short radiator, which means it’s practically begging for a decent counterpoise to work with. If you’re running this on a vehicle, the metal body helps, but if you’re out in a field on a tripod, you’d better bring some radial wires or a heavy-duty ground rod, otherwise, you’re just wasting your precious battery power.
- Get a real SWR meter or a decent NanoVNA. Because these antennas are mechanical compromises, they are never “perfectly” tuned; they are “good enough” tuned. You need to be able to see exactly where your resonance is sitting so you don’t accidentally cook your finals while you’re chasing a signal on a band that’s slightly off-center.
- Height is your best friend, but it isn’t magic. I’ve seen these things perform decently at 10 meters up, but once you get them closer to the deck, the near-field losses start eating your signal alive. If you can get that telescopic element higher up, do it—it’s the only way to compensate for the lack of an efficient radiation pattern.
- Watch your coax. When you’re dealing with an antenna that has a high capacitive reactance, the coax itself can become part of the antenna system. I’ve spent many a frustrating evening realizing my “tuning” issues were actually just common-mode current traveling back down the shield because I hadn’t used a choke.
- Manage your expectations. A screwdriver is a tool for convenience, not for breaking DX records. It’s there to get you on the air when you don’t have the luxury of a 70-foot dipole, but if the ionosphere is being temperamental and your antenna is already a compromise, don’t be surprised when you’re only hearing the local ragchew.
The Bottom Line: When to Use One and When to Walk Away
A screwdriver antenna is a compromise of convenience, not efficiency; it trades radiation resistance and a low noise floor for the ability to pack a multi-band system into a small footprint.
You can’t escape the physics of being electrically short; expect high SWR and heavy reliance on your rig’s internal tuner, which means you’ll be working harder to make contacts that a tuned wire would have made effortlessly.
Success with these antennas is highly situational—they work fine for local work or when the ionosphere is wide open, but don’t blame the gear if you can’t pull in weak DX when the skip is low.
The Trade-off You Can't Ignore
Look, a screwdriver antenna is a brilliant piece of convenience, but let’s be honest: you’re trading efficiency for portability. You’re essentially running an electrically short radiator that relies on high ground conductivity and a whole lot of luck to keep your SWR from spiking every time the moisture in the air shifts. It’ll get you on the air, sure, but if you’re expecting it to punch through a bad skip like a well-tuned dipole, you’re going to be disappointed.
Wren Castellano
The Bottom Line on Screwdrivers
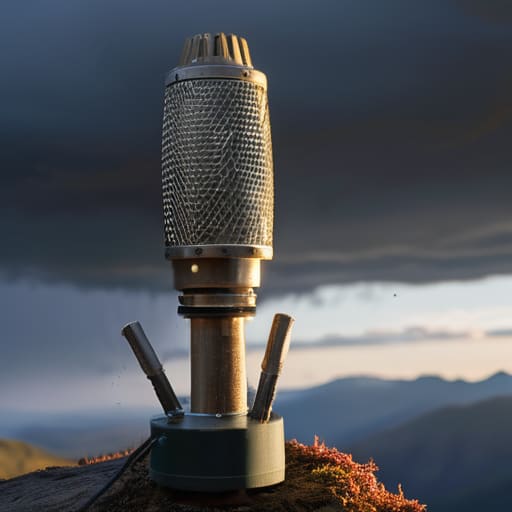
At the end of the day, a screwdriver antenna is a tool of convenience, not a tool of perfection. You’re trading efficiency for portability, accepting a high Q and a massive loss in radiation resistance just so you don’t have to lug a heavy dipole up a ridge or mount a permanent mast on your rig. If you use one, do it with your eyes open: know that you’ll be fighting high SWR, you’ll be relying heavily on your tuner, and you’ll likely be dependent on a very forgiving ionosphere to make those contacts. It’s an electrically short compromise that works best when you stop expecting it to behave like a resonant wire and start treating it like the specialized, high-loss compromise it actually is.
Don’t let the technical limitations discourage you from getting out there, though. There is a specific kind of magic in pulling a signal out of the noise using nothing but a telescopic whip and a bit of luck. Radio isn’t always about having the most efficient pattern or the lowest loss; sometimes, it’s just about showing up where you can. If a screwdriver gets you on the air when the conditions are right, then it has done its job. Just remember to keep measuring, keep tuning, and never mistake a lucky bounce for a perfect antenna.
Frequently Asked Questions
If I'm using a screwdriver antenna, how much ground plane do I actually need to see a decent SWR?
Look, if you’re running a screwdriver, you aren’t just feeding a radiator; you’re feeding a system that relies heavily on the earth to do the heavy lifting. If you’re on a dry, sandy hilltop, you’re going to struggle. I’ve found that for a decent SWR, you need a radial system—either real wires or a decent vehicle roof—that extends at least a quarter-wavelength from the base. Without that, you’re just fighting high loss and a shifting match.
Is it worth the weight in my pack, or should I just stick to a well-tuned wire and a long walk?
If you’re hiking for the view, stick to the wire. A well-tuned end-fed or a simple dipole at 10 meters up will beat a screwdriver every single time. The screwdriver is a compromise of physics; you’re fighting high VSWR and radiating mostly noise. Only pack it if your operating site is a literal concrete slab where you can’t throw a line. Otherwise, save the weight and enjoy the walk.
Can I actually get a signal out on 20 meters with these things, or are they strictly for the lower bands?
You can, but don’t expect a miracle. I’ve pulled DX on 20 meters with a screwdriver, but usually only when the gray line is working in my favor or the noise floor is unusually quiet. Because they’re electrically short, your efficiency drops off a cliff as the frequency goes up. On 20m, you’re fighting a losing battle against radiation resistance. It works for a quick contact, but if you want a real station, you need a wire.